Connecting for the First Time
Getting Started
If you have not yet loaded the Excel add-in please follow the steps in the Loading the Excel Add-in article first.
Otherwise, you can proceed with the steps below to connect TAD for the first time.
Get Connected!
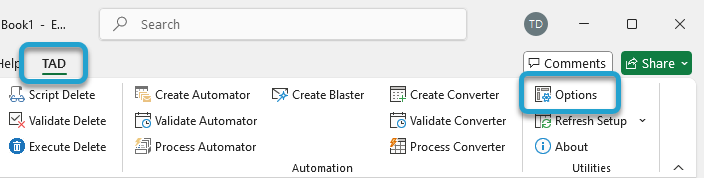
Select the TAD ribbon and click the Options button to begin the connection setup.
You will need to fill out the Account Options on the right side of the Options window.
There are two ways to connect:
Cloud-Hosted Vista- Can use SQL Account.
- Can use Windows Account when accessing Excel in the AVD Remote Desktop.
- Can use SQL Account or Windows Account.
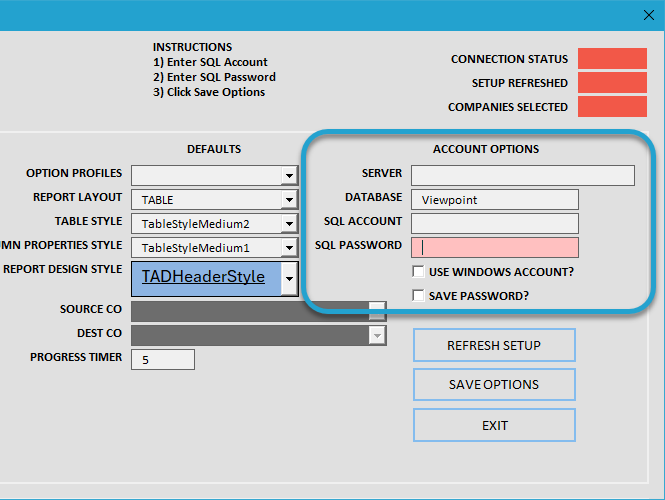
The Server should be the same one used during the installation. (Example: AAAA-sql.viewpointdata.cloud, ####)
- Enter your SQL Account and SQL Password or check Use Windows Account to authenticate.
- If using a SQL Account, check Save Password to enable Auto Connect, allowing TAD to remember your credentials.
- Click Save Options to apply the settings.
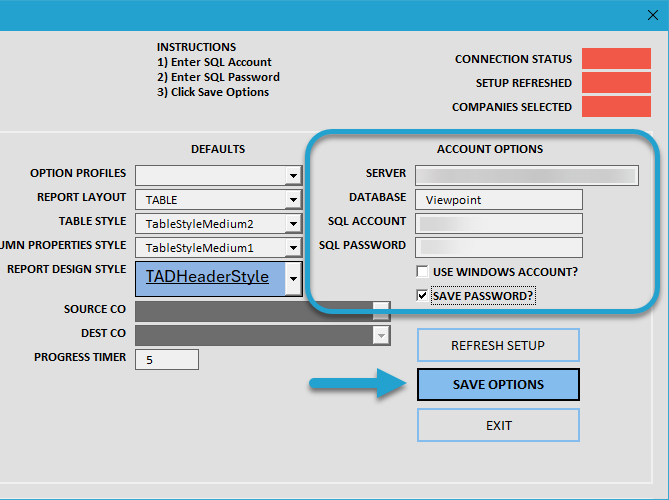
You should see the new instruction messages appear at the top of the Options window.
Click Refresh Setup to download the TAD configurations into the workbook, ensuring all settings are properly applied.
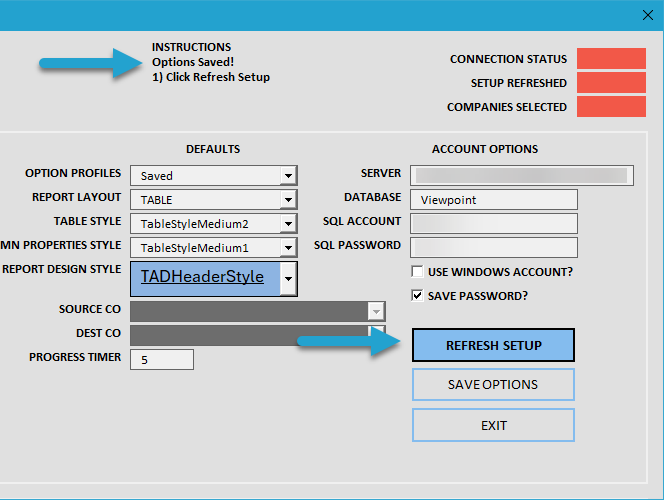
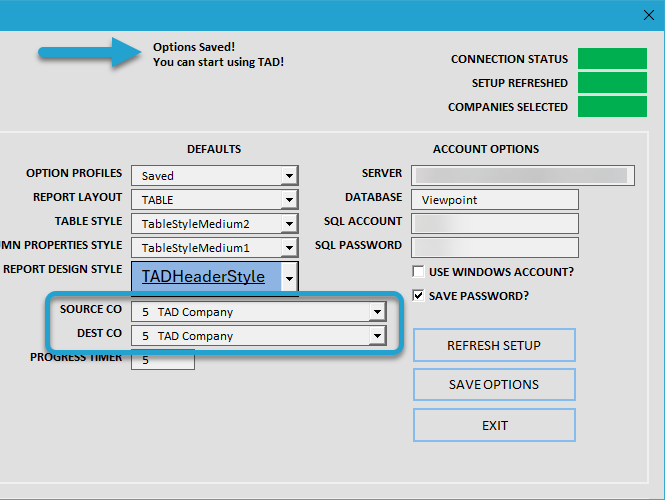
With the configurations downloaded, you are officially connected to TAD.
You can update your default Source Co/Dest Co values if needed. By default, both are initially set to the first company in the list.
Does This Thing Work?
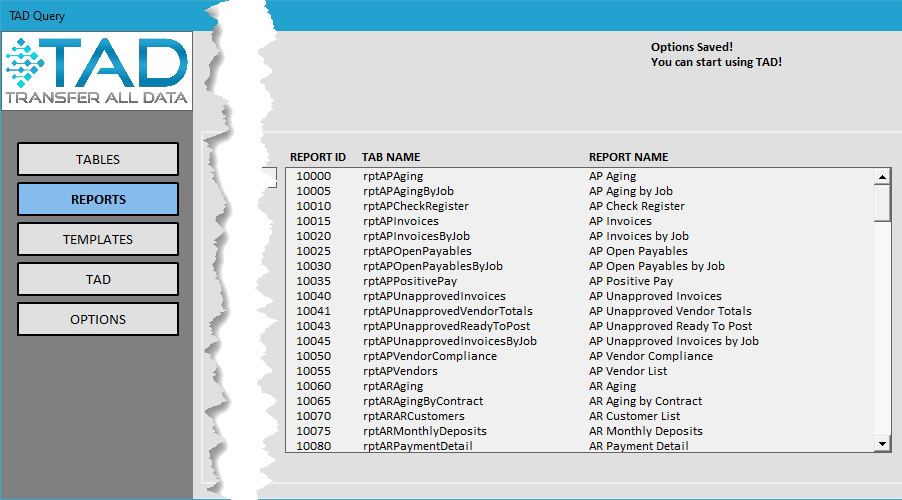
If you still have the Options form open, click the Reports button on the left side.
Otherwise, click the Reports button on the left side of the TAD Ribbon.
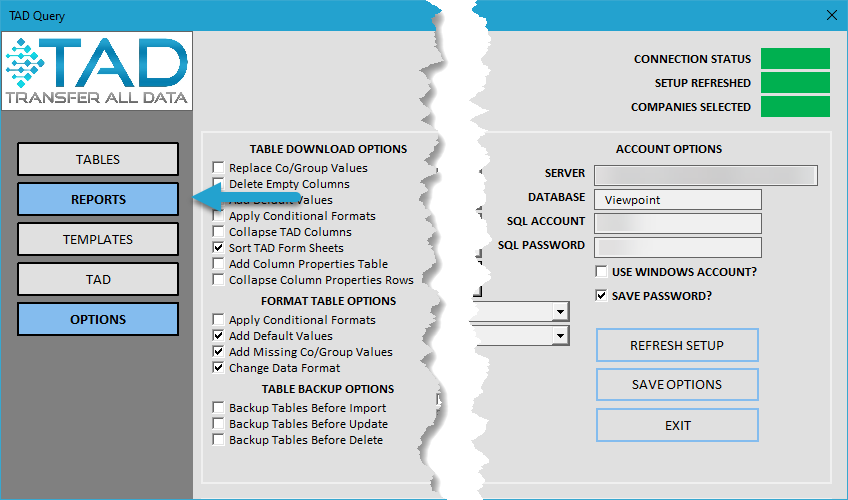
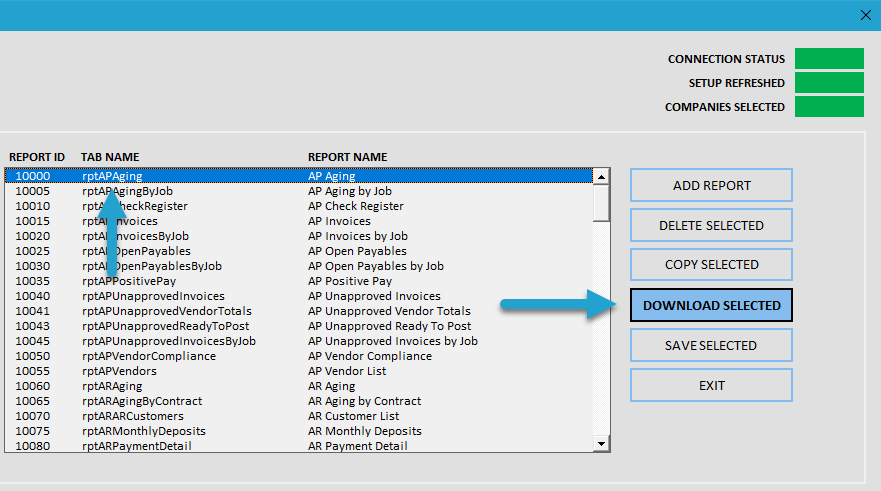
Select the top report, AP Aging, and click Download Selected to retrieve the report data.
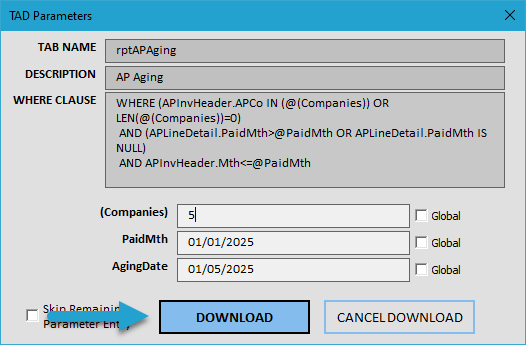
Click the Download button on the Parameters form to proceed with retrieving the report data.
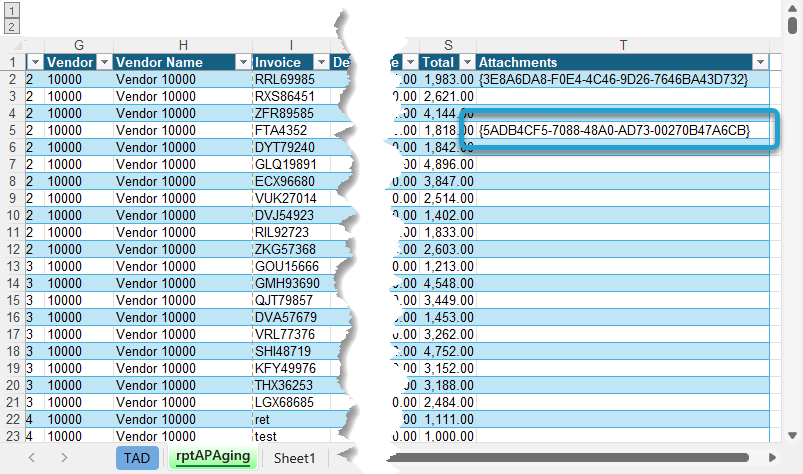
Locate the Attachments column on the right side of the worksheet and select a cell with a value.
Press F4 on your keyboard to open the Attachment List form.
You should see the Attachment List form displaying one or more attachments associated with the selected record.

Double-click on an attachment or select it and click the Open button to view the file.
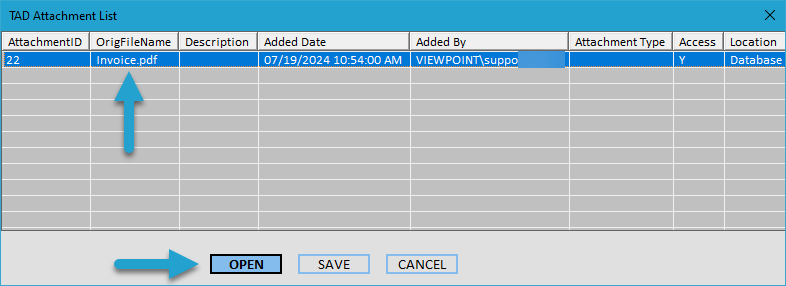
If the attachment opens, then everything is working as expected.
If you receive an error related to permissions, have your Admin follow the Granting Attachment Access guide to resolve the issue.
What is Auto Connect?
The Auto Connect feature is enabled when:
- Using a SQL Account and the Save Password box is checked.
- Using a Windows Account for authentication.
Next time you want to use TAD:
- Open a new blank workbook.
- Click the Tables, Reports, or Templates button to start your selections.
TAD will automatically connect without requiring you to enter credentials again.

You will receive a prompt stating that saved settings were detected and asking if you would like to auto connect.
Click Yes to connect instantly with one click.

Once connected, you should see the Form layout corresponding to the button you selected (Tables, Reports, or Templates).