Implementation Balance - EM Meter Readings
Getting Started
If your equipment has existing odometer or hour meter readings at the time of conversion import those values to maintain accurate usage tracking and support future maintenance and cost calculations.
Template Info
-
Required Source Data
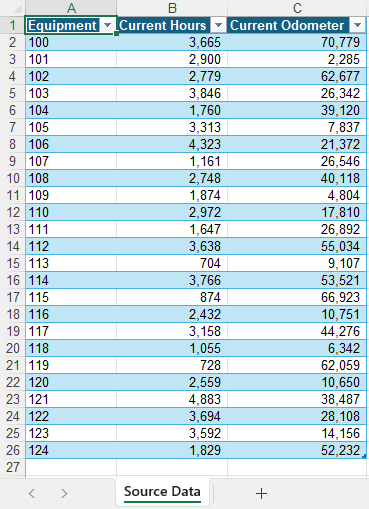
- Equipment #
- Current Hours
- Current Odometer
-
Optional Source Data
- N/A
-
Additional Tips
- N/A
-
Basic Steps
- Download TAD Template
- Copy the Source Data
- Import the Records
- Post Open Batch
- Validate Imported Data
Download TAD Template
Open your source data file in Excel.
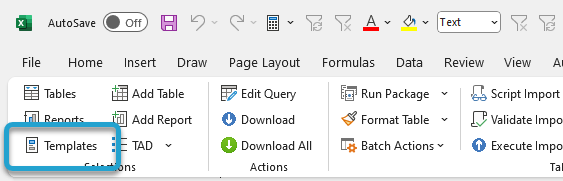
Click the Templates button on the left side of the ribbon.
If you've signed into TAD before, then you should receive the message below. Click Yes.
If you have not signed into TAD before, follow the Get Connected instructions.

Select the Implementation Balance – EM Meter Readings template.
Click the Download Selected button.
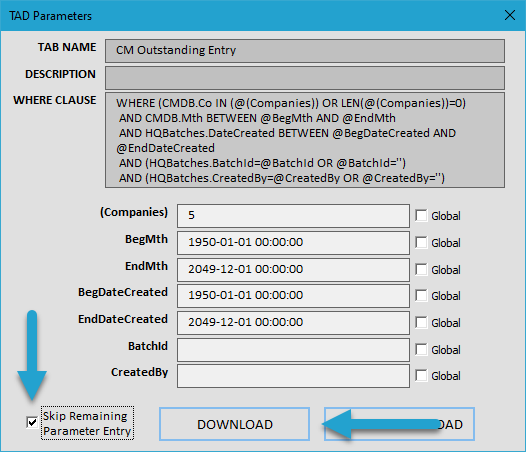
Verify your Company number and click the Download button.
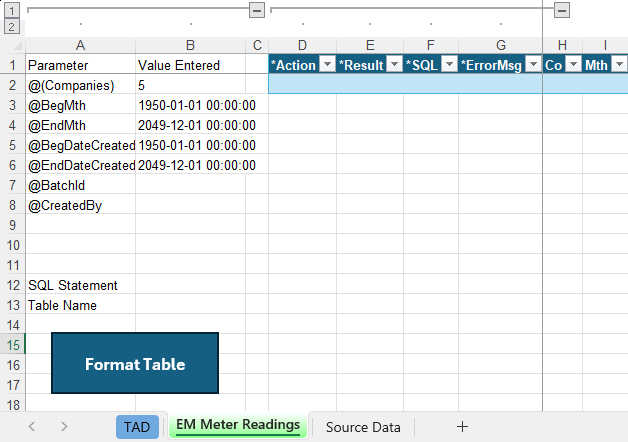
The EM Meter Readings sheet is used to import the hours and odometer readings.
Copy the Source Data
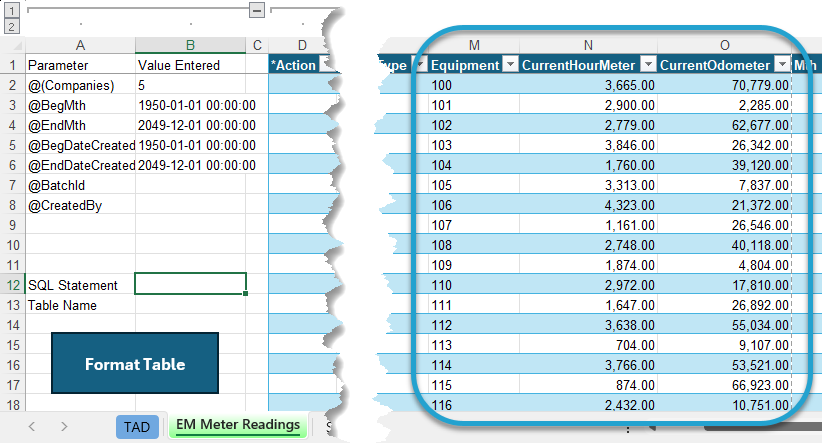
Copy and paste the source data into the EM Meter Readings sheet. If your source data layout matches the example above, this will be a single copy and paste since the EM Meter Readings columns are already in the same order.
Import the Records
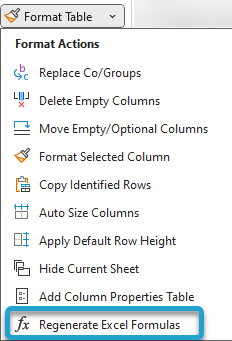
Click the submenu of the Format Table button on the ribbon and choose the Regenerate Excel Formulas button. This will apply formulas to multiple columns.
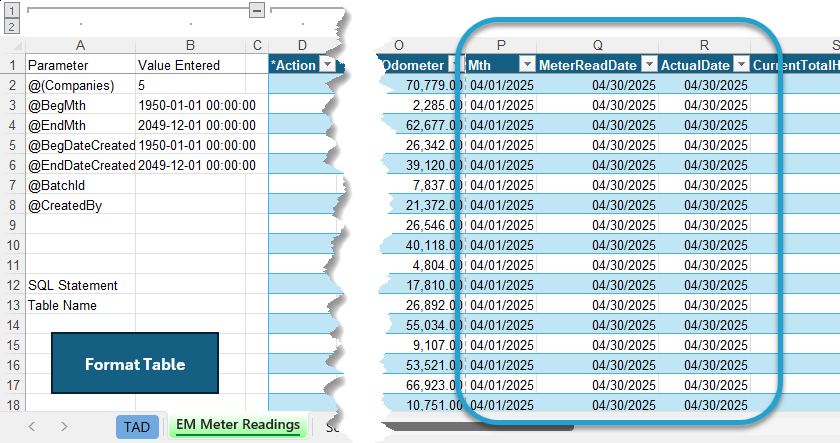
The Mth column defaults to the current month. Update this value if you’re loading balances as of the prior month.
Click the Format Table button to format the data you copied and to apply missing default values.
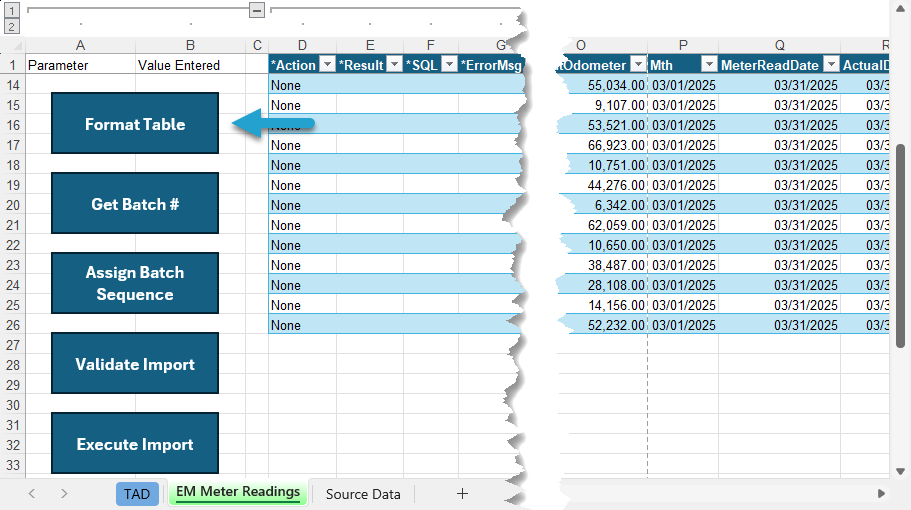
The Result column will show Formatted for every record. You will see the default Company number applied.
Click the Get Batch # button to assign the next batch number.
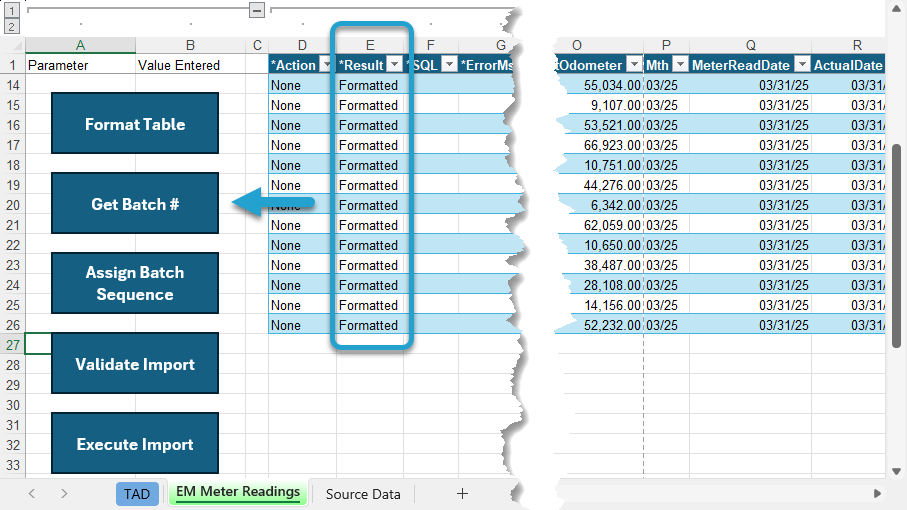
The Result column will show Batch #XX Assigned for every record.
Click the Assign Batch Sequence button to assign a sequential value to each record.
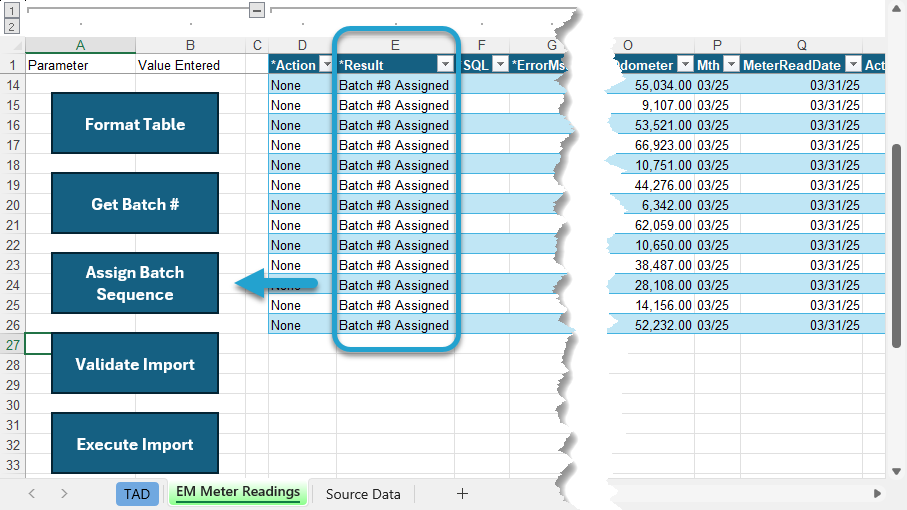
The Result column will show Batch Sequence Assigned for every record.
Click the Validate Import button.
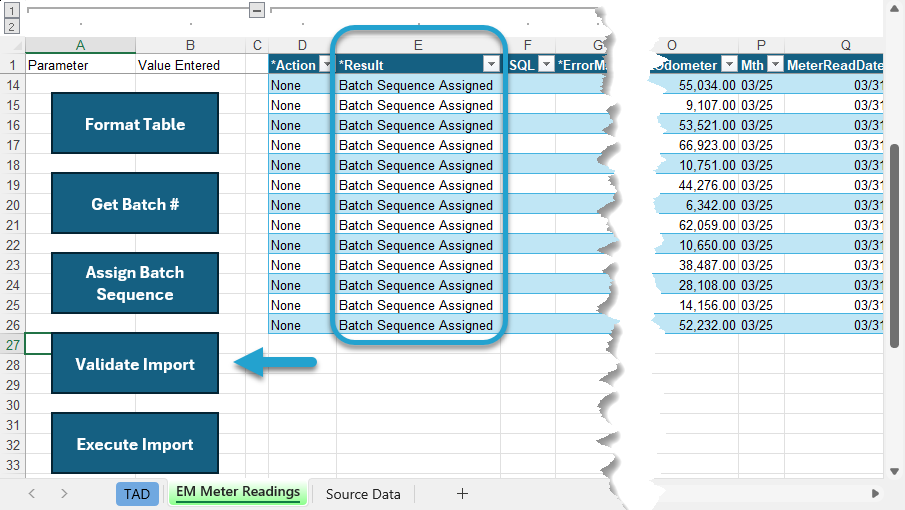
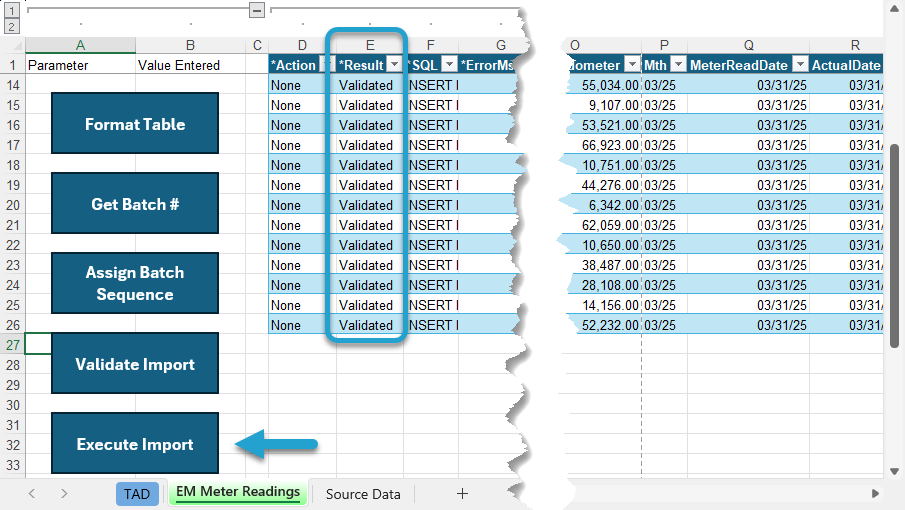
The Result column will show Validated for every record. If this says Failure, then the ErrorMsg column will provide the error.
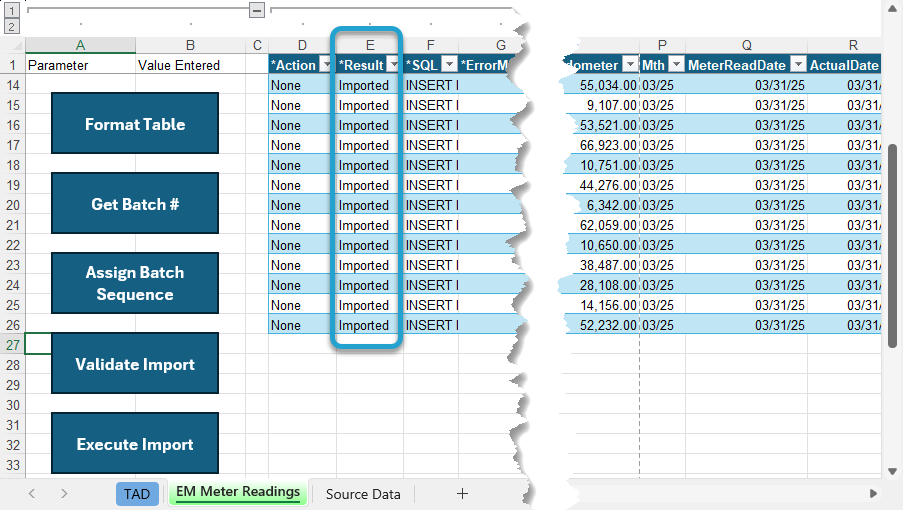
Click the Execute Import button.
The Result column will show Imported for every record.
That completes all steps needed in TAD. You can now open the batch in Vista to validate and post.
Post Open Batch
Since meter readings do not affect the GL, there’s no interfacing that needs to be turned off.
Open the batch in EM Meter Readings.
With the batch open, go to File → Process Batch, then click the Validate button followed by the Post button.
Validate Imported Data
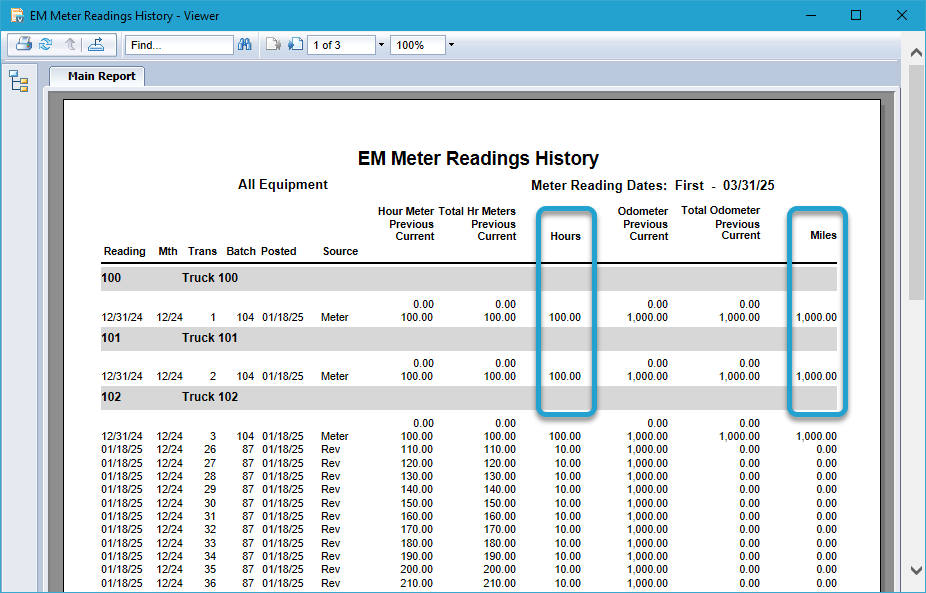
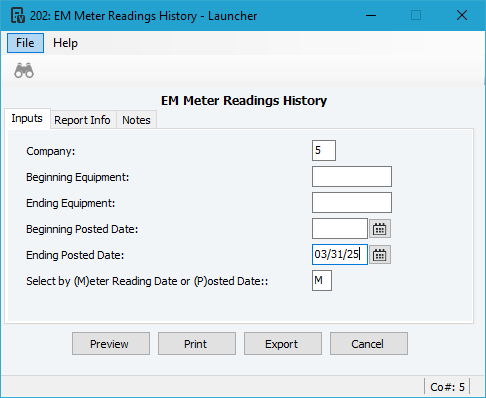
You can validate the Meter Readings by running the EM Meter Readings History report in Vista.
Enter your Company and the Ending Posted Date for the month that you just imported.
Make all other parameters look like the image below.
Verify the Hours and Miles columns contain the correct values for each piece of equipment.