Implementation Balance - JC Received To Date
Getting Started
If you’ve already billed and received payments on contracts prior to go-live be sure to import the Contract Billed and Received amounts to reflect accurate billing history and payment status for each contract.
Template Info
- Required Source Data Header Table
- Record Key
- Customer #
- Contract #
- Invoice #
- Description
- Invoice Date
- Due Date
- Line Table
- Record Key
- Contract #
- Contract Item #
- Received Amount
- Optional Source Data N/A
- Additional Tips The Record Key column is used to link the Header and Line records together for each invoice, so make sure the numbers are unique and assigned appropriately.
- This template includes two separate batches: AR Invoice Entry and AR Cash Receipts. The cash receipts process downloads the posted invoices directly into the cash receipt tables, making it easy to import and post payments.
- Basic Steps Download TAD Template
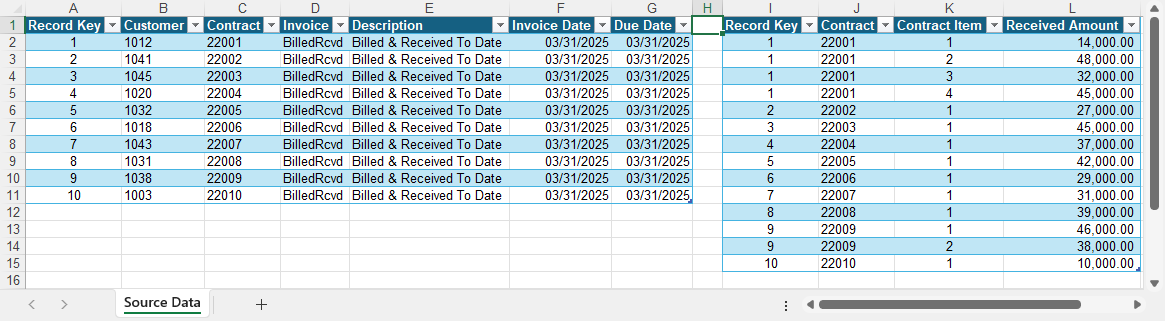
- Copy the Source Data
- Import the Records
- Post Invoice Batch
- Post Cash Receipts Batch
- Validate Imported Data
Download TAD Template
Open your source data file in Excel.
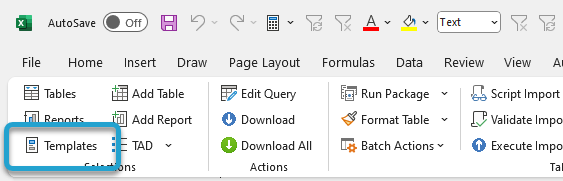
Click the Templates button on the left side of the ribbon.
If you've signed into TAD before, then you should receive the message below. Click Yes.
If you have not signed into TAD before, follow the Get Connected instructions.

Select the Implementation Balance – JC Received To Date template.
Click the Download Selected button.
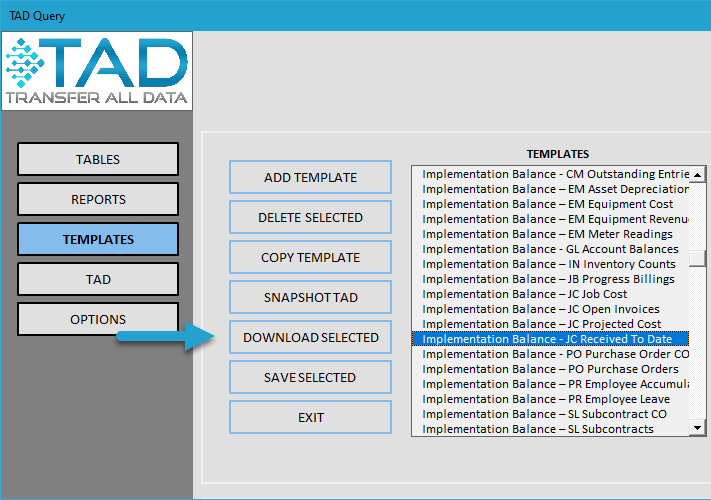
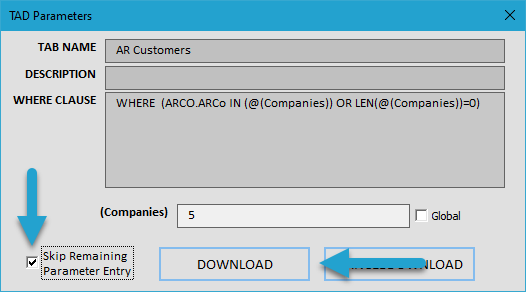
This template includes multiple tables, so make sure to check the Skip Remaining Parameter Entry box and click the Download button to download them all at once.
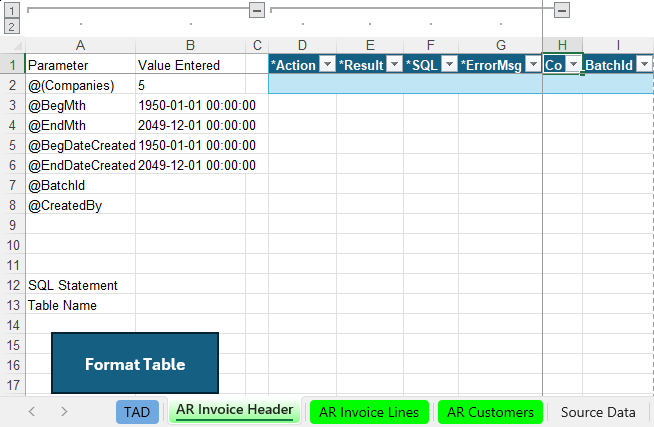
You’ll see multiple worksheets, as shown below.
The AR Customers sheet is used to pull the default Pay Term and Receivable Type values.
The AR Invoice Header and AR Invoice Lines sheets are used to import the AR invoices.
Copy the Source Data
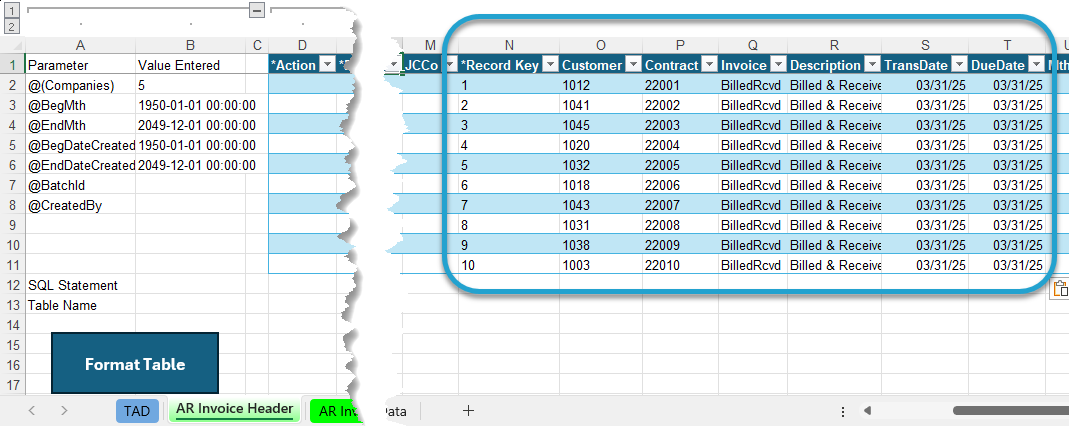
Copy and paste the header source data into the AR Invoice Header sheet. If your source data layout matches the example above, this will be a single copy and paste since the AR Invoice Header columns are already in the same order.
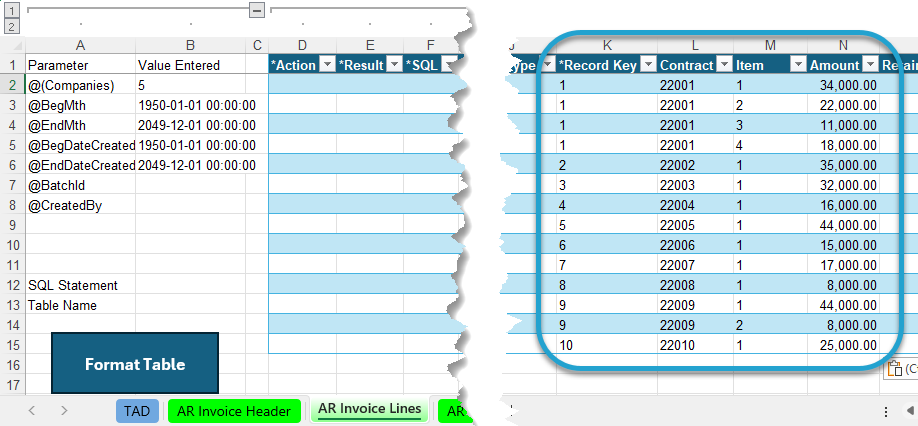
Copy and paste the line source data into the AR Invoice Lines sheet. If your source data layout matches the example above, this will be a single copy and paste since the AR Invoice Lines columns are already in the same order.
Enter your Suspense or Clearing GL Account in the GLAcct column.
Import the Records
Go to the AR Invoice Header worksheet.
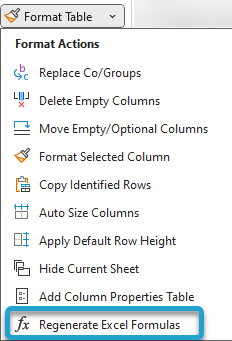
Click the submenu of the Format Table button on the ribbon and choose the Regenerate Excel Formulas button. This will apply XLOOKUP and other formulas to multiple columns pulling default values from the AR Customers worksheet.
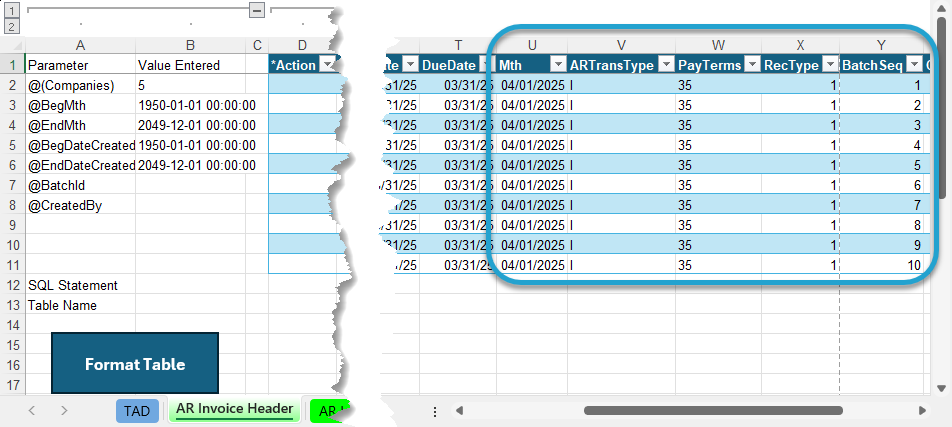
The Mth column defaults to the current month. Update this value if you're loading balances as of the prior month.
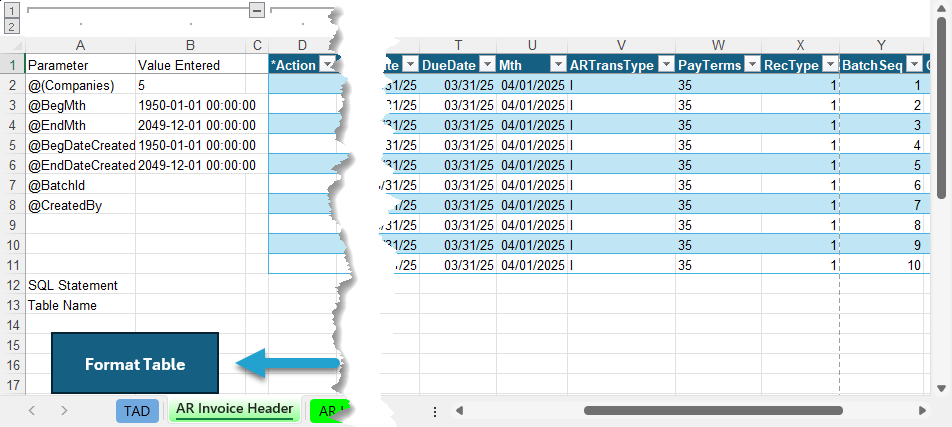
Click the Format Table button to format the data you copied and to apply missing default values.
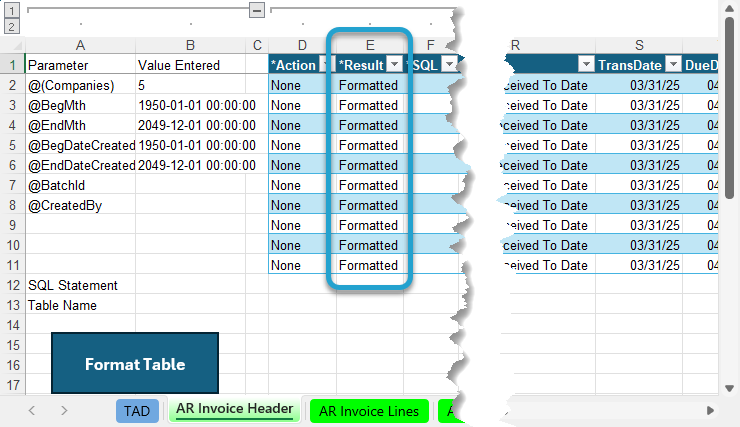
The Result column will show Formatted for every record. You will see the default Company number applied.
Go to the AR Invoice Lines worksheet.
Click the submenu of the Format Table button on the ribbon and choose the Regenerate Excel Formulas button. This will apply XLOOKUP and other formulas to multiple columns pulling default values from the AR Invoice Header worksheet.
The Mth column defaults to the current month. Update this value if you're loading balances as of the prior month.
The Mth value should match the Mth value on the AR Invoice Header worksheet.
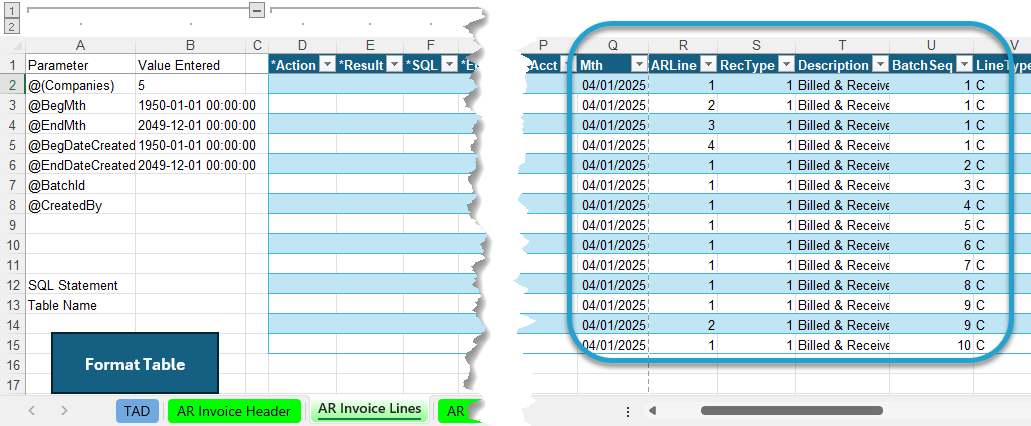
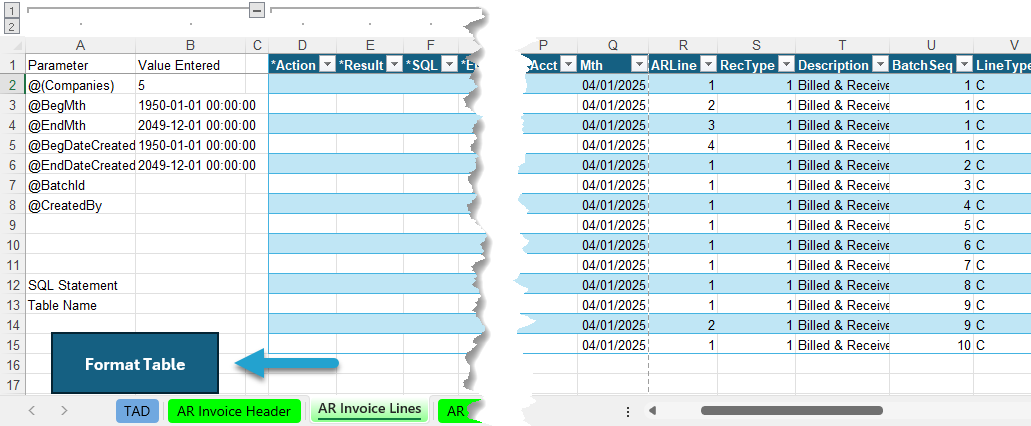
Click the Format Table button to format the data you copied and to apply missing default values.
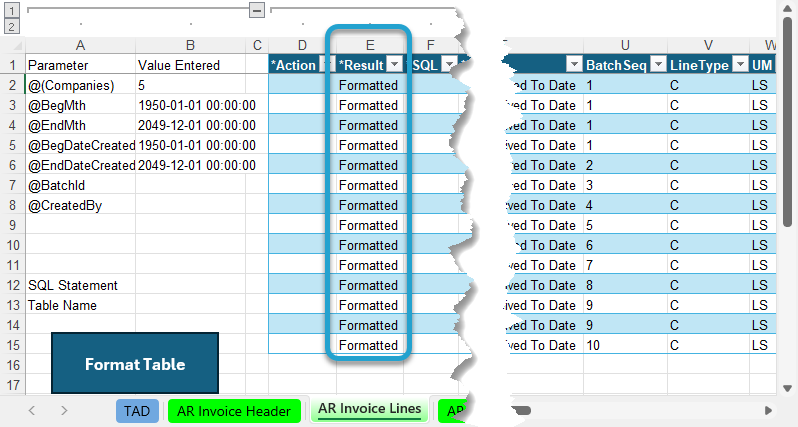
The Result column will show Formatted for every record. You will see the default Company number applied.
Go to the AR Invoice Header worksheet.
Click the Get Batch # button to assign the next batch number to both the Header and Lines worksheets.
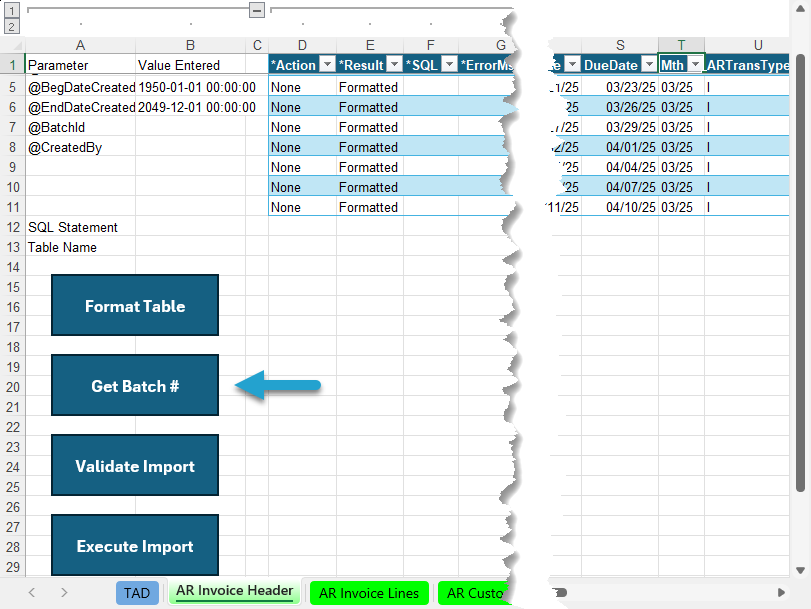
The Result column will show Batch #XX Assigned for every record.
Click the Validate Import button.
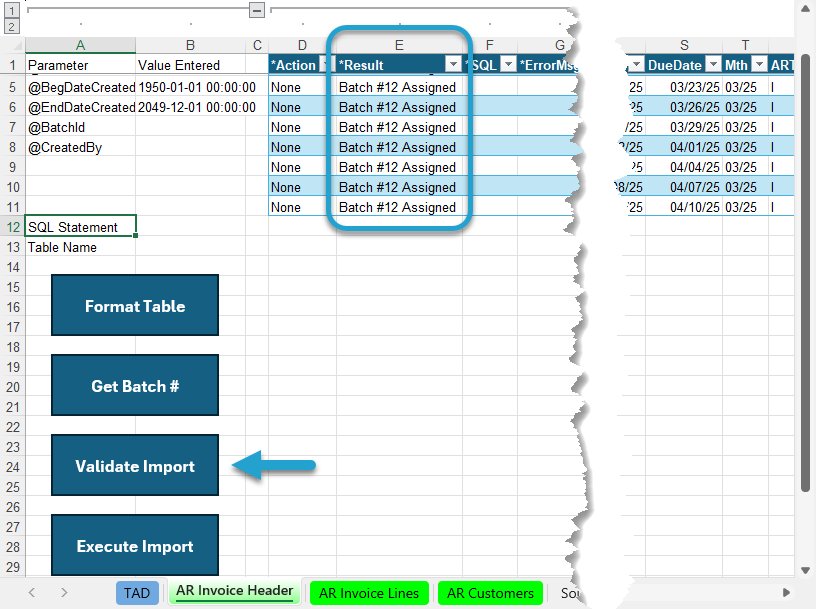
The Result column will show Validated for every record. If this says Failure, then the ErrorMsg column will provide the error.
Click the Execute Import button.
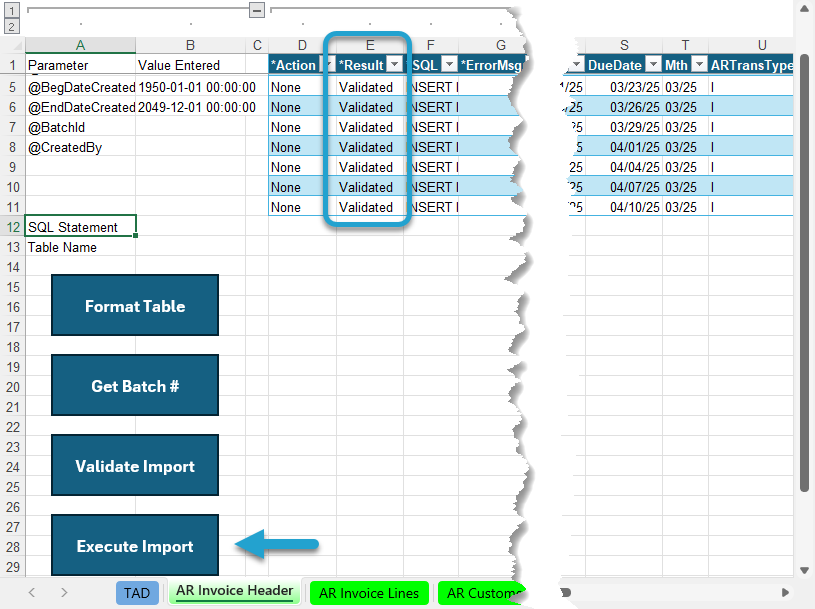
The Result column will show Imported for every record.
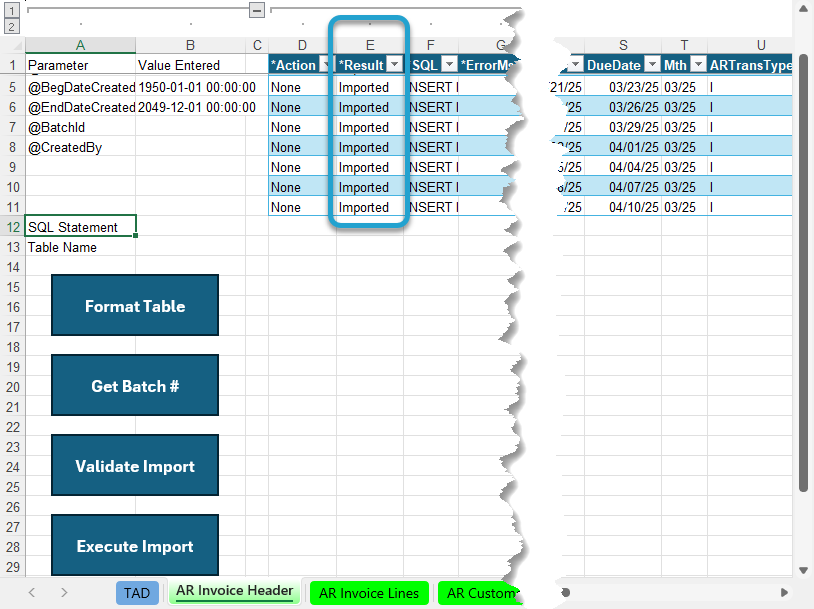
Go to the AR Invoice Lines worksheet.
The Result column will show Batch #XX Assigned for every record since that was the last action on the worksheet.
Click the Validate Import button.
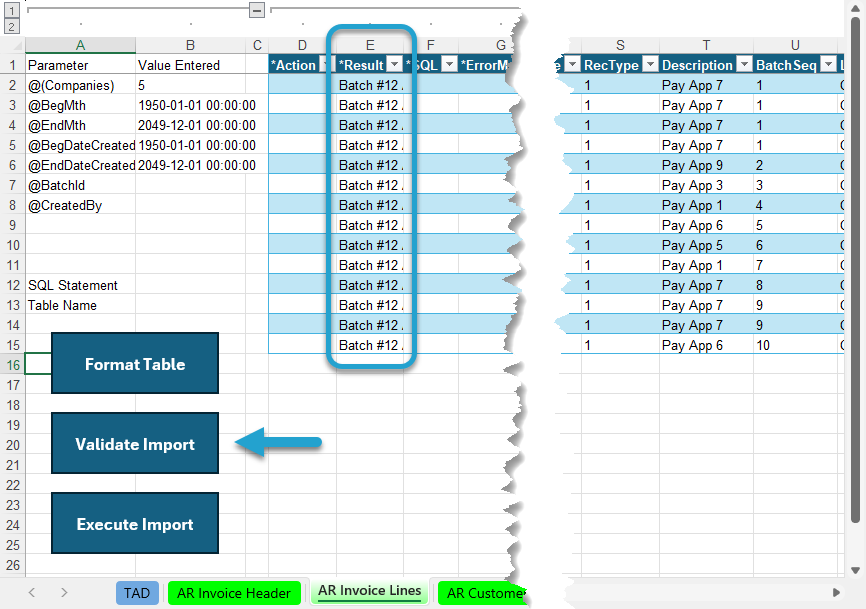
The Result column will show Validated for every record. If this says Failure, then the ErrorMsg column will provide the error.
Click the Execute Import button.
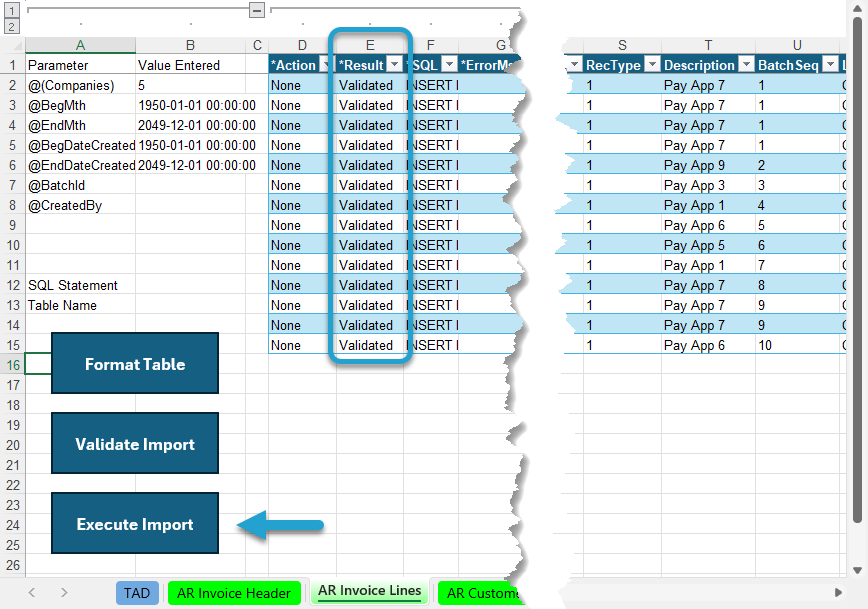
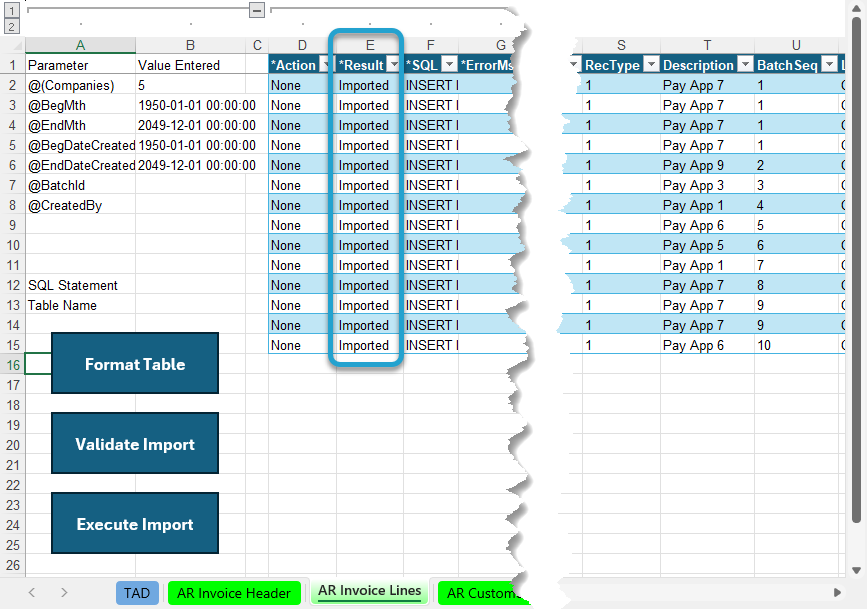
The Result column will show Imported for every record.
That completes all steps needed in TAD. You can now open the AR Invoice Entry batch in Vista to validate and post.
Post Invoice Batch
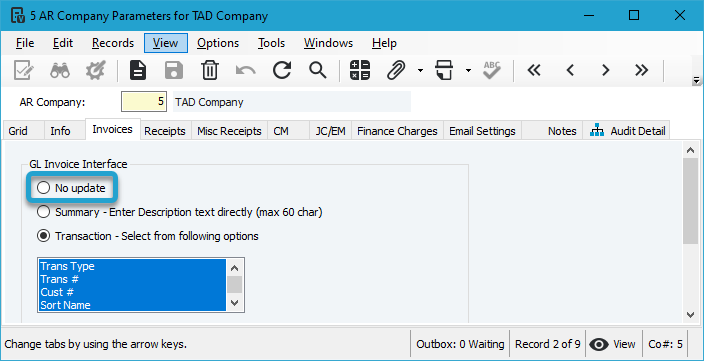
Before opening the AR Invoice Entry batch, you need to turn off Interfacing to the General Ledger. This prevents the batch from posting GL activity, which we do not want when loading these balances.
In Vista, go to Accounts Receivable → Programs → AR Company Parameters.
On the Invoices tab, write down your existing value for the GL Invoice Interface and select No Update.
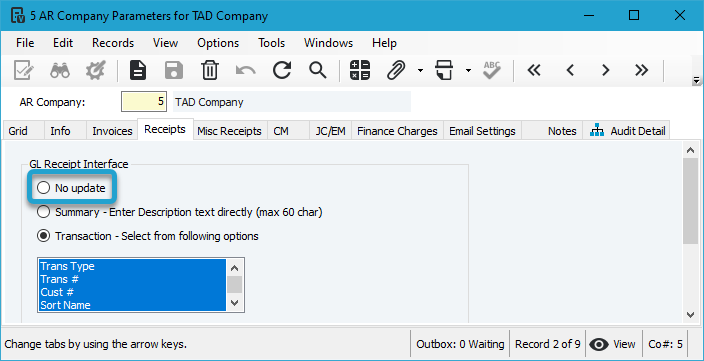
On the Receipts tab, write down your existing value for the GL Receipt Interface and select No Update.
On the CM tab, write down your existing value for the Cash Management Interface. Then select No Update, click Save and minimize the form.
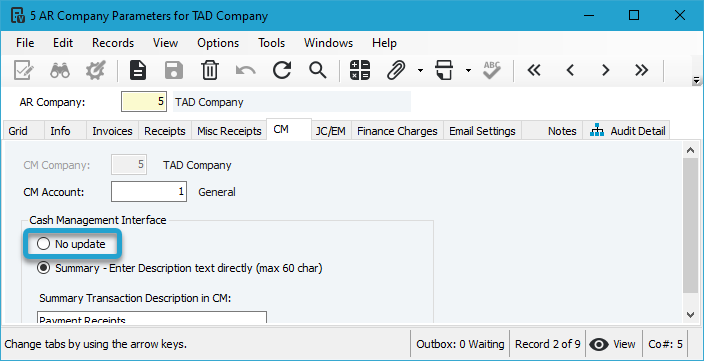
If your invoices are coded to Contracts, like in this example, do not turn off the JC Interface Level on the JC/EM tab. You want these invoices to post to the Job Cost tables to populate the Billed Amounts and Retainage Amounts.
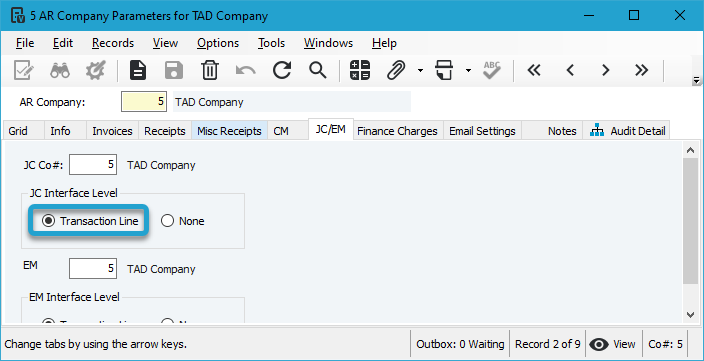
Now you can open the batch in AR Invoice Entry.
Write down the Batch #, as you’ll need it for the next step.
With the batch open, go to File → Process Batch, then click the Validate button followed by the Post button.
Leave your Interface Levels off until the AR Cash Receipts batch is posted in the next step.
Post Cash Receipts Batch
Click the TAD button on the left side of the ribbon.
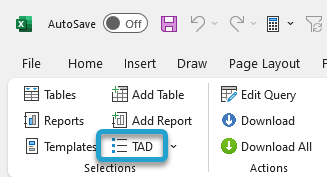
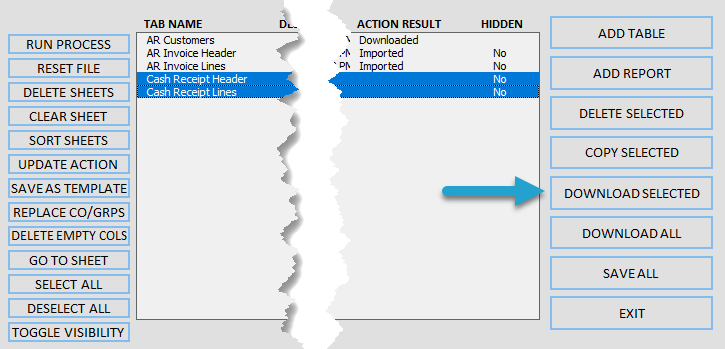
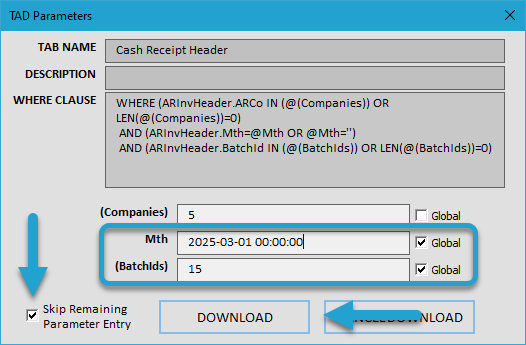
Select the Cash Receipt Header and Cash Receipt Lines records, then click the Download Selected button.
Change the Mth parameter and the BatchId parameter to the month and batch # you just imported.
Check the Global checkbox for both parameters.
Then check the Skip Remaining Parameter Entry box and click the Download button to download both worksheets.
Click the Format Table button to format the data.
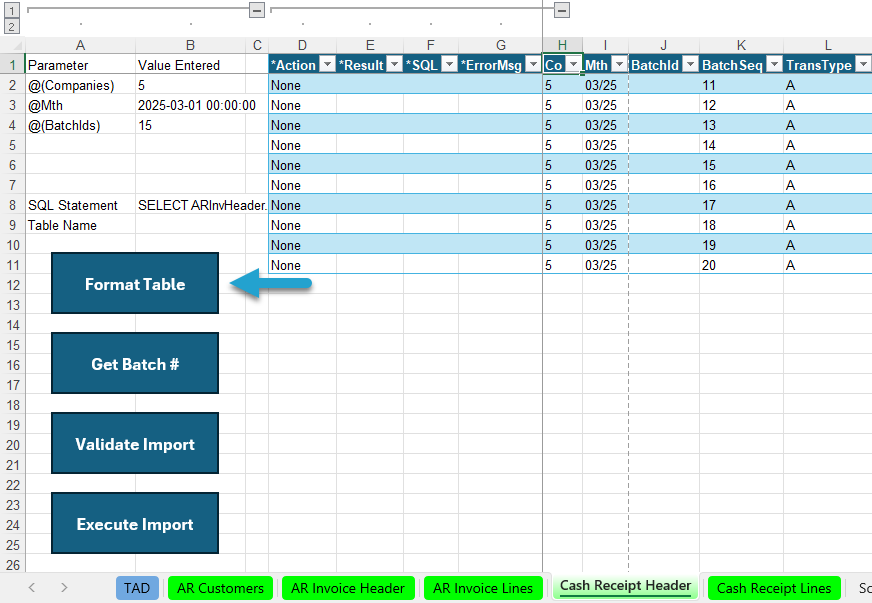
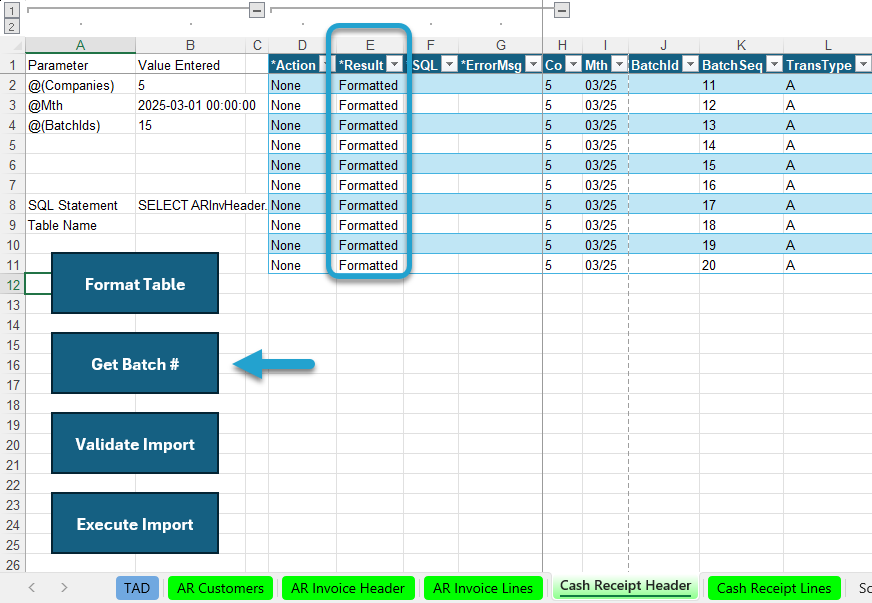
The Result column will show Formatted for every record.
Click the Get Batch # button to assign the next batch number to both the Header and Lines worksheets.
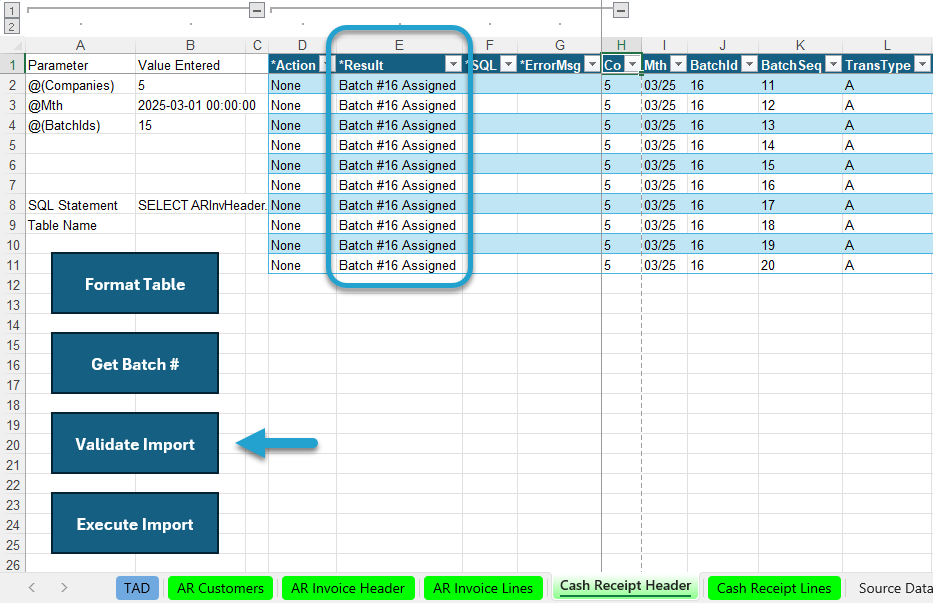
The Result column will show Batch #XX Assigned for every record.
Click the Validate Import button.
The Result column will show Validated for every record. If this says Failure, then the ErrorMsg column will provide the error.
Click the Execute Import button.
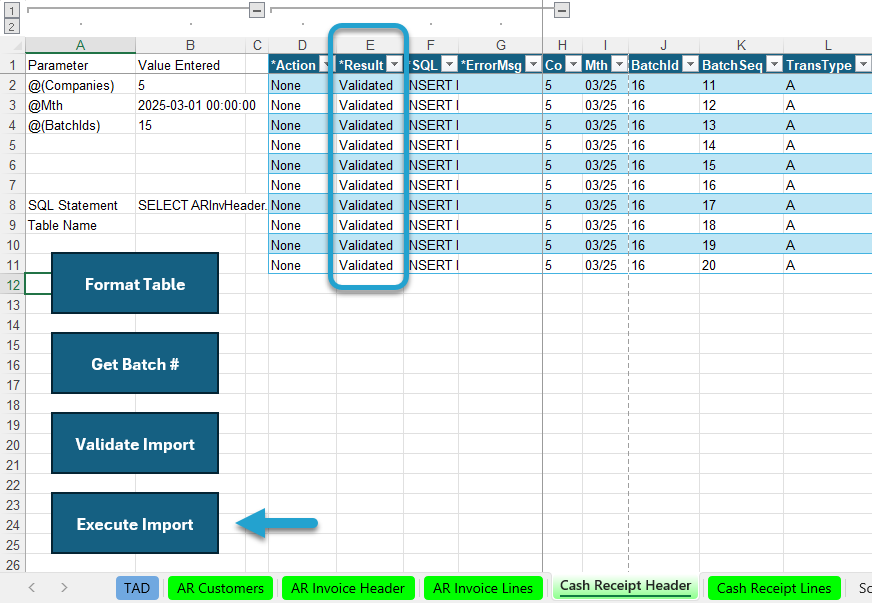
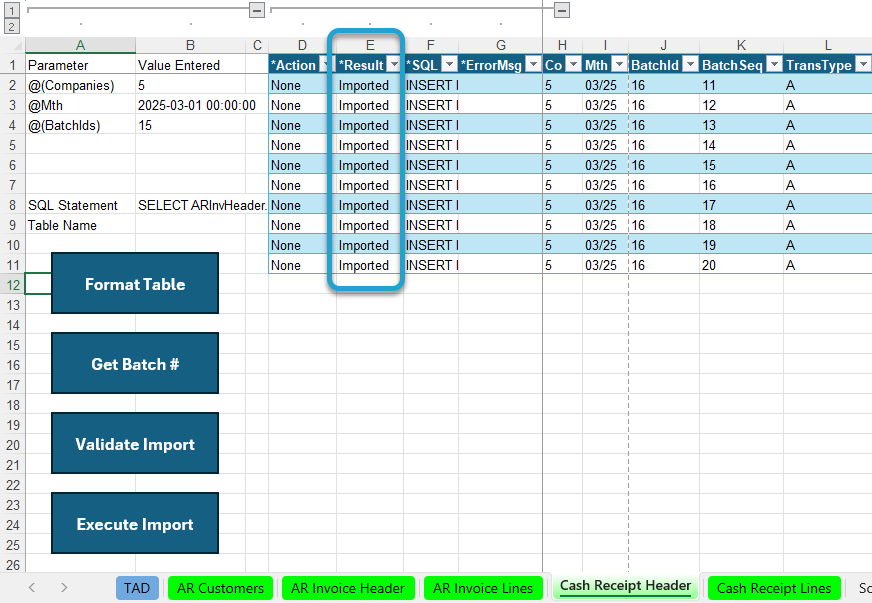
The Result column will show Imported for every record.
Go to the Cash Receipt Lines worksheet.
The Result column will show Batch #XX Assigned for every record since that was the last action on the worksheet.
Click the Format Table button.
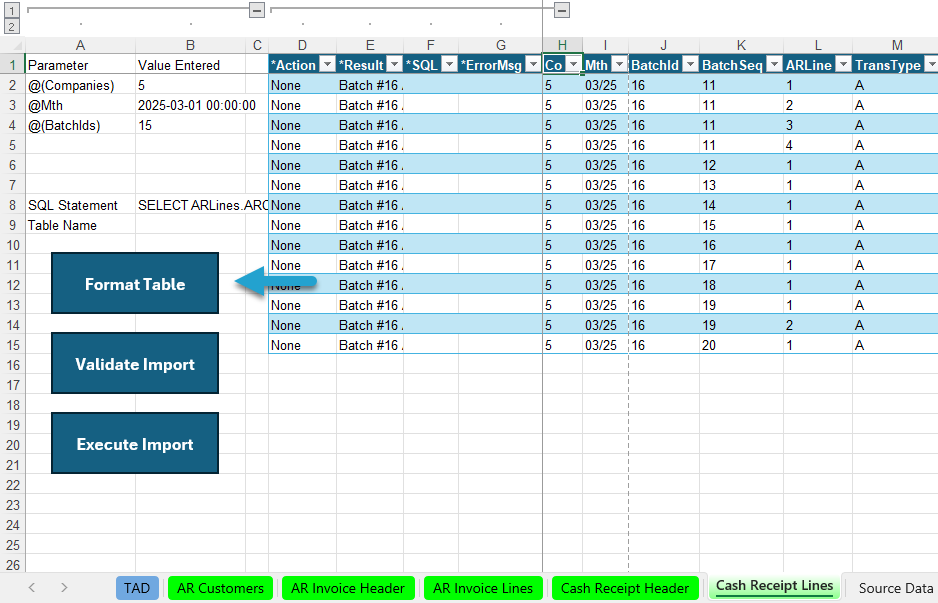
The Result column will show Formatted for every record.
Click the Validate Import button.
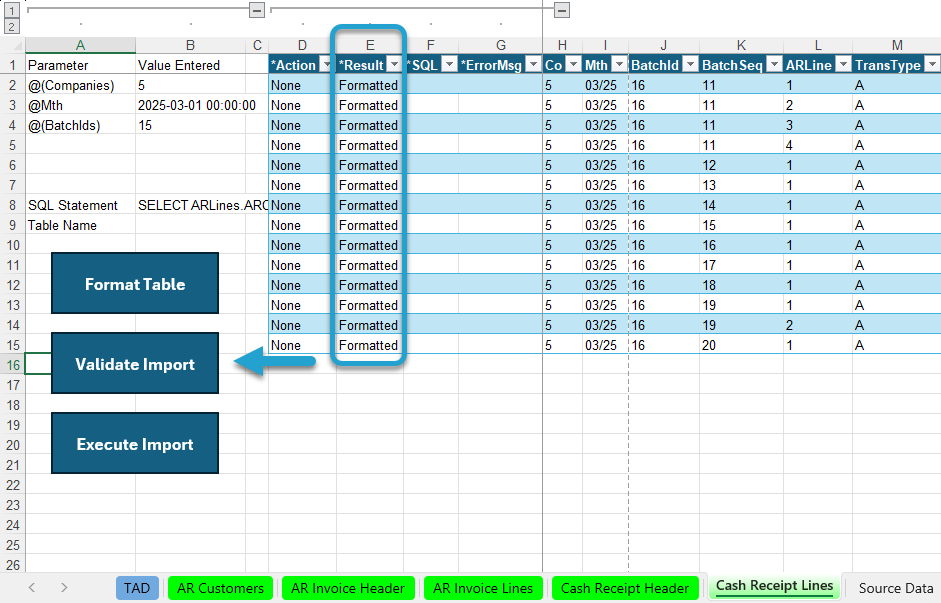
The Result column will show Validated for every record. If this says Failure, then the ErrorMsg column will provide the error.
Click the Execute Import button.
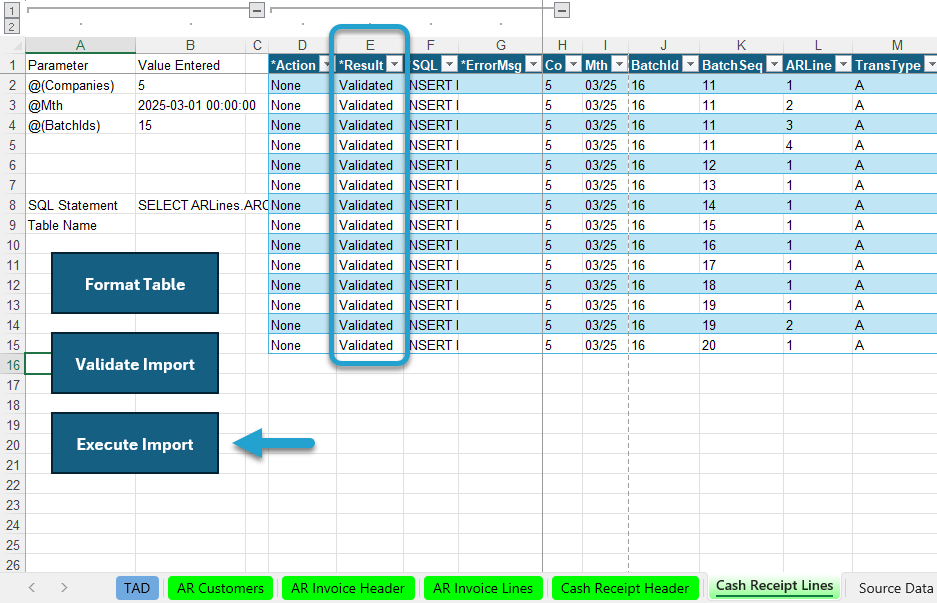
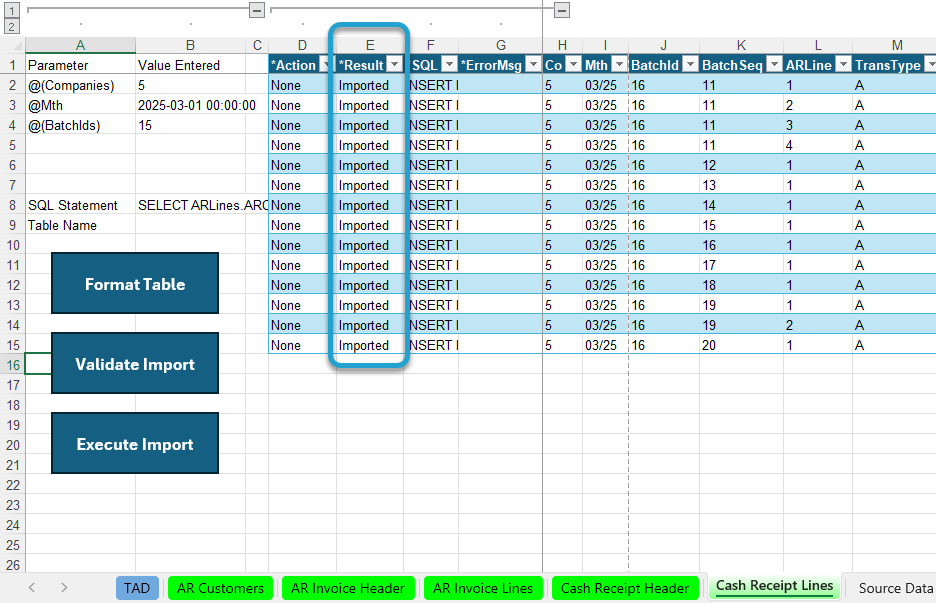
The Result column will show Imported for every record.
That completes all steps needed in TAD. You can now open the AR Cash Receipts batch in Vista to validate and post.
Once the batch posts, make sure to change your Interface Levels back to their normal values.
Validate Imported Data
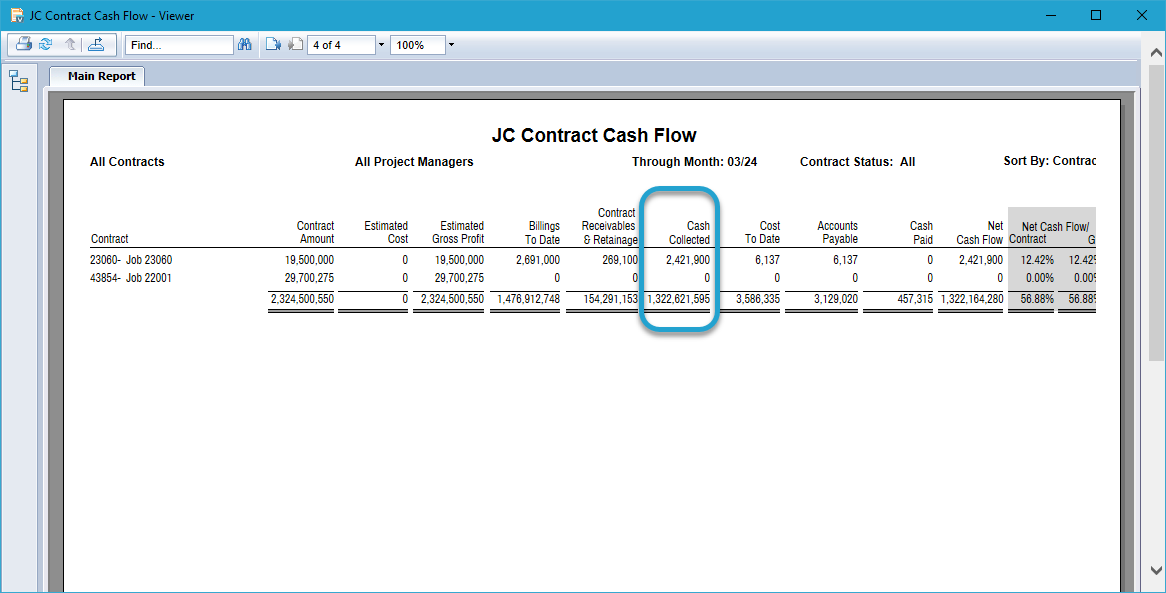
You can validate the Billed and Received To Date by running the JC Contract Cash Flow report in Vista.
Enter your Company and the Through Month for the month that you just imported.
Make all other parameters look like the image below.
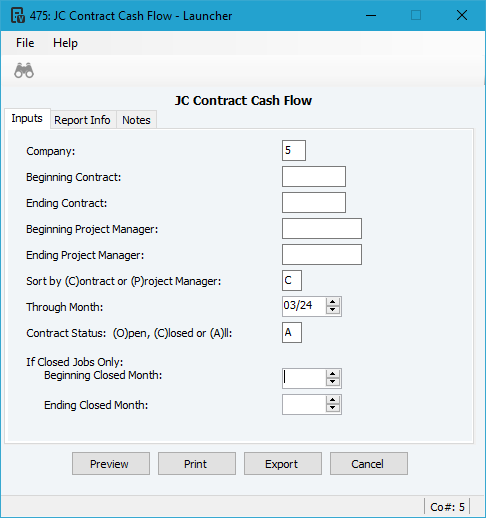
Verify the Cash Collected column equals the total amount of invoices you imported.