Implementation Balance - PR Leave Balances
Getting Started
If you track paid time off vacation, sick leave, or other types of employee leave, you’ll want to import these records to ensure accurate balances are available at the time of conversion. This allows for a smooth transition into live payroll processing with correct leave accruals and usage history in place.
Template Info
-
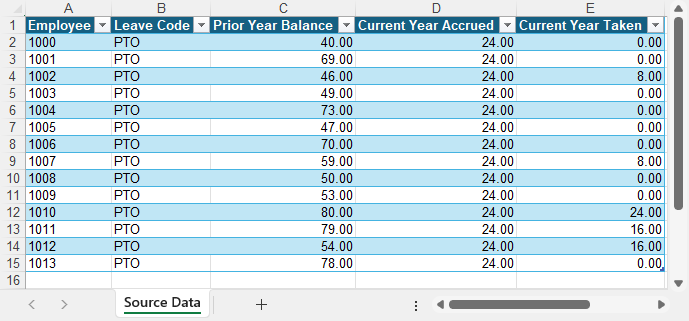
Required Source Data
- Employee #
- Leave Code
- Prior Year Balance
- Current Year Accrued
- Current Year Taken
-
Additional Tips
- You will do two separate imports for these balances.
- You will import the Prior Year Balance, which represents the hours that will carry over to the new year. Then, use the PR Employee Leave Reset function in Vista to reset the annual accrual limits.
- After that, import the Current Year Accrued and Current Year Taken amounts.
- This template assumes you have already imported the PR Employee Leave records with the employee Fixed Accrual Overrides and/or Limits.
- You will do two separate imports for these balances.
-
Basic Steps
- Download TAD Template
- Copy Prior Year Data
- Import the Records
- Post Open Batch
- Reset Leave Accruals
- Copy Current Year Data
- Import the Records
- Post Open Batch
- Validate Imported Data
Download TAD Template
Open your source data file in Excel.
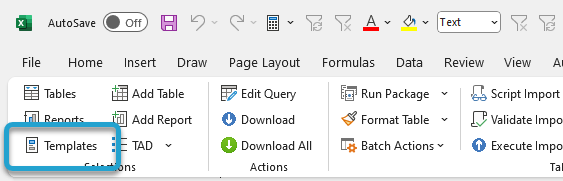
Click the Templates button on the left side of the ribbon.
If you've signed into TAD before, then you should receive the message below. Click Yes.
If you have not signed into TAD before, follow the Get Connected instructions.

Select the Implementation Balance – PR Leave Balances template.
Click the Download Selected button.
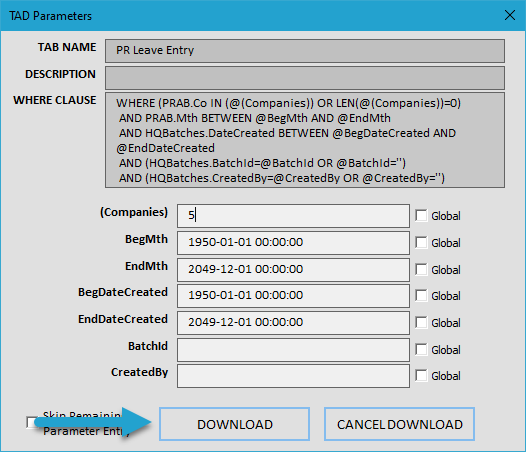
Verify your Company number and click the Download button.
The PR Leave Entry sheet is used to import the leave balances.
Copy Prior Year Data
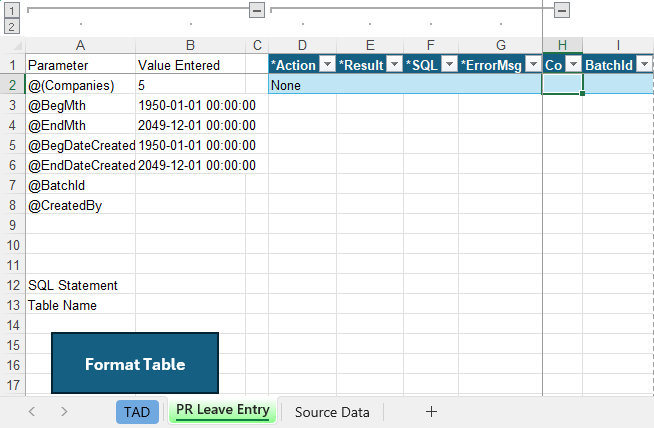
Copy and paste the source data into the PR Leave Entry sheet. You should be copying the Employee, Leave Code, and Prior Year Balance columns.
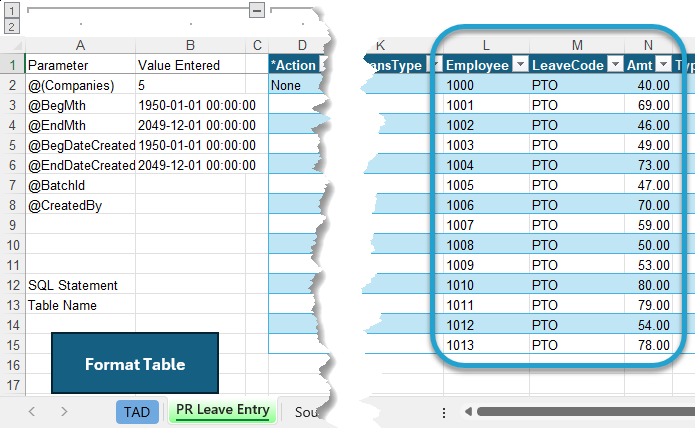
Fill out the following columns:
- Enter A for Accrual in the Type column.
- Enter the Prior Year End Month in the Mth column.
- Enter the Prior Year Ending Date in the ActDate column.
Import the Records
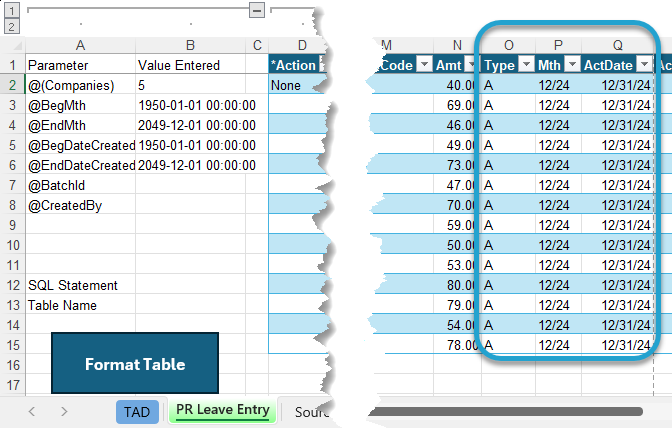
Click the Format Table button to format the data you copied and to apply missing default values.
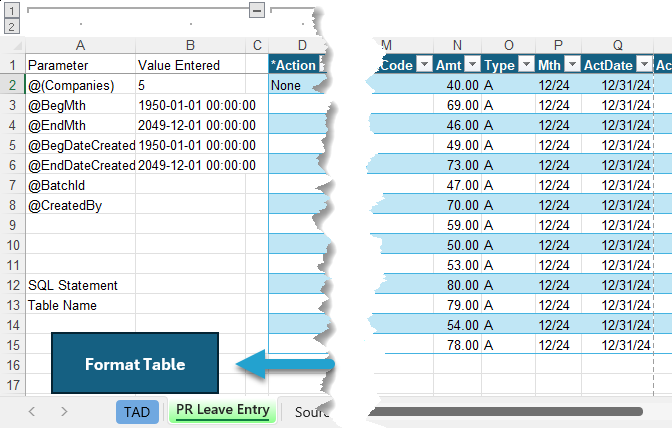
The Result column will show Formatted for every record. You will see the default Company number applied.
Click the Get Batch # button to assign the next batch number.
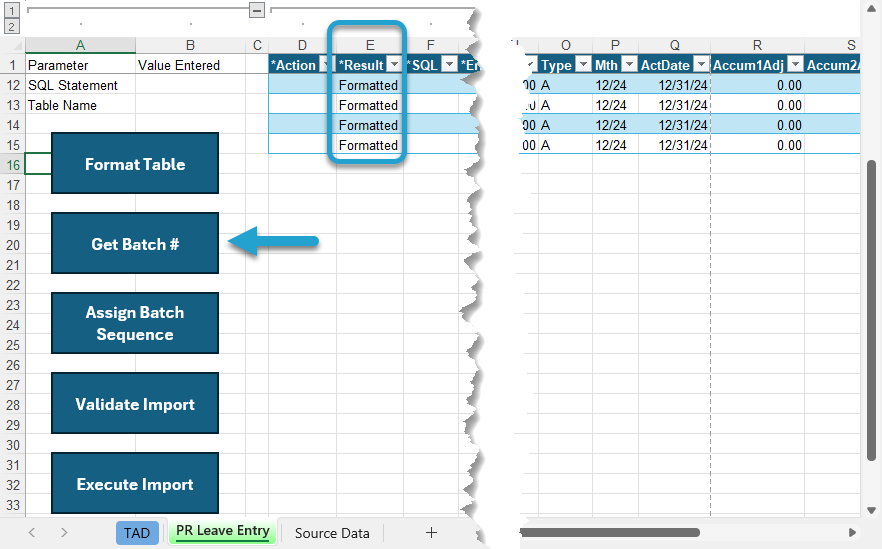
The Result column will show Batch #XX Assigned for every record.
Click the Assign Batch Sequence button to assign a sequential value to each record.
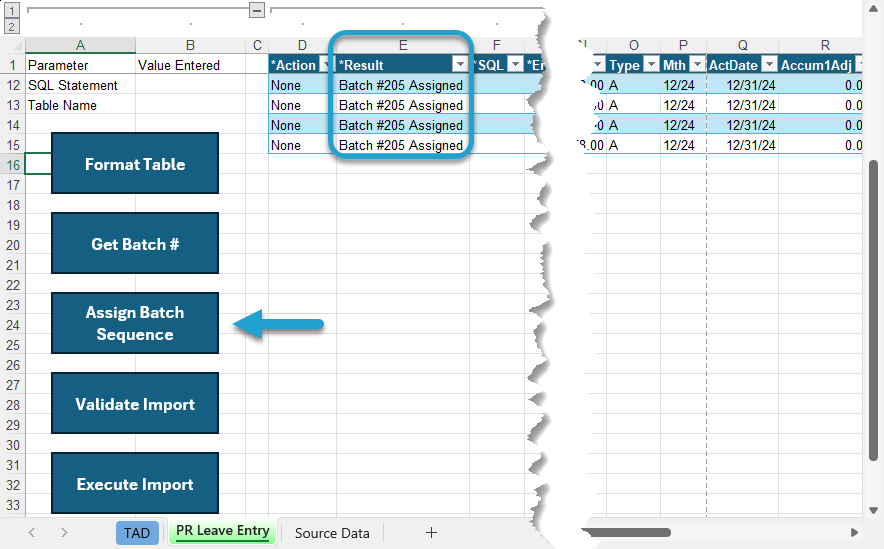
The Result column will show Batch Sequence Assigned for every record.
Click the Validate Import button.
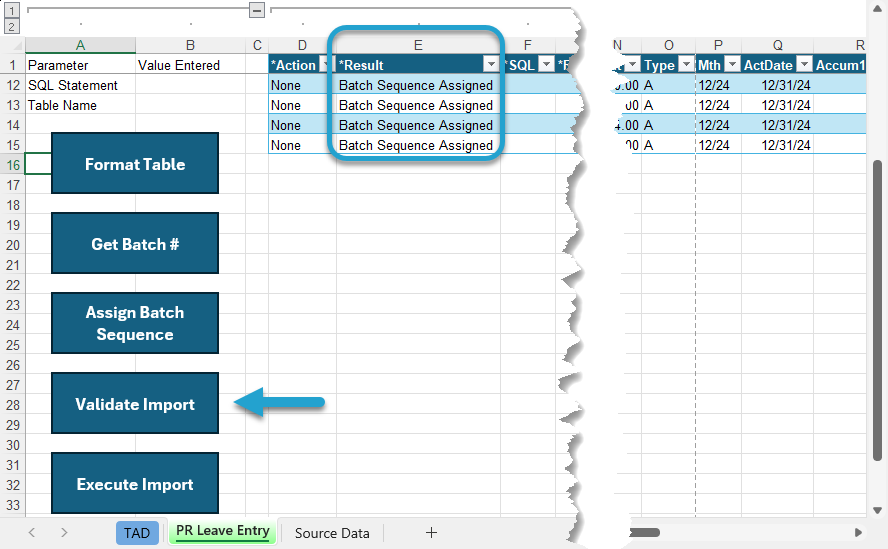
The Result column will show Validated for every record. If this says Failure, then the ErrorMsg column will provide the error.
Click the Execute Import button.
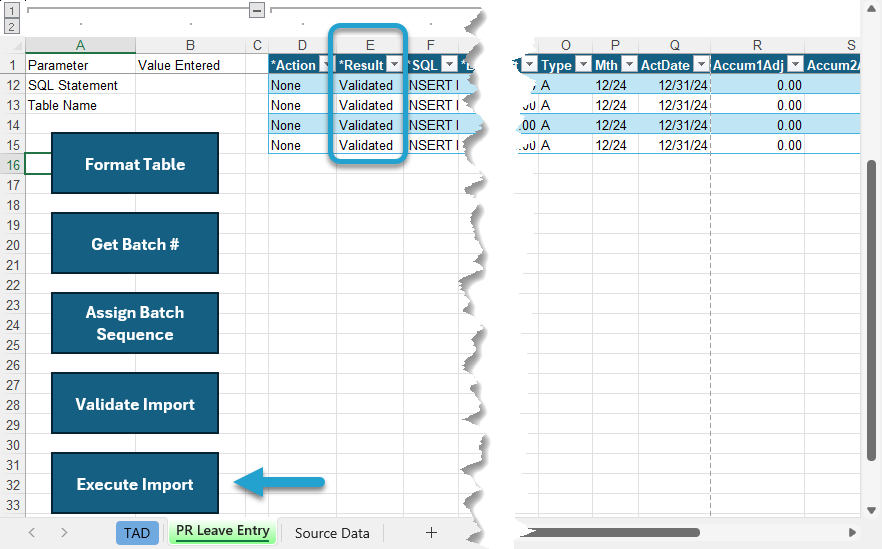
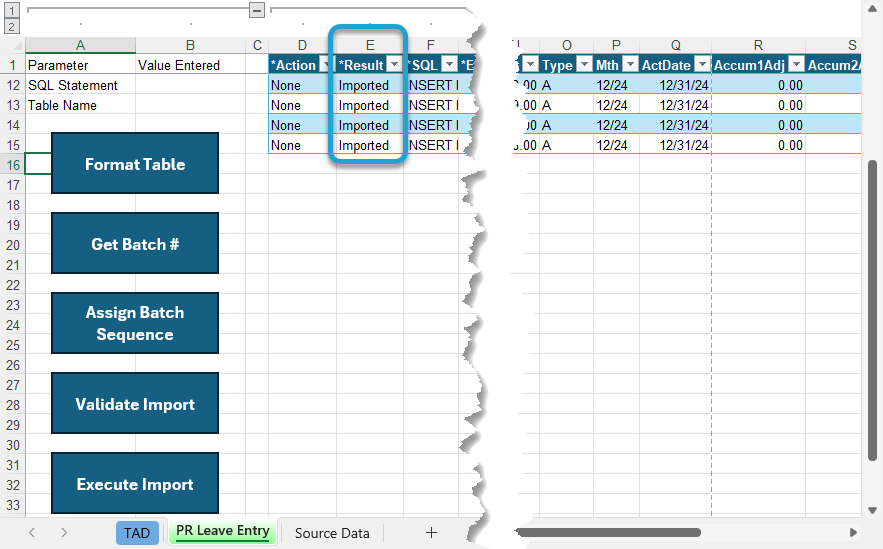
The Result column will show Imported for every record.
That completes all steps needed in TAD. You can now open the batch in Vista to validate and post.
Post Open Batch
There’s no interfacing that needs to be turned off for leave balances.
Open the batch in PR Leave Entry.
With the batch open, go to File → Process Batch, then click the Validate button followed by the Post button.
Reset Leave Accruals
With the prior year accruals posted, you now need to reset the accrual limits for the new year.
Create a new batch in PR Leave Entry using the same Prior Year End Month.
With the batch open, go to File → Leave Code Reset.
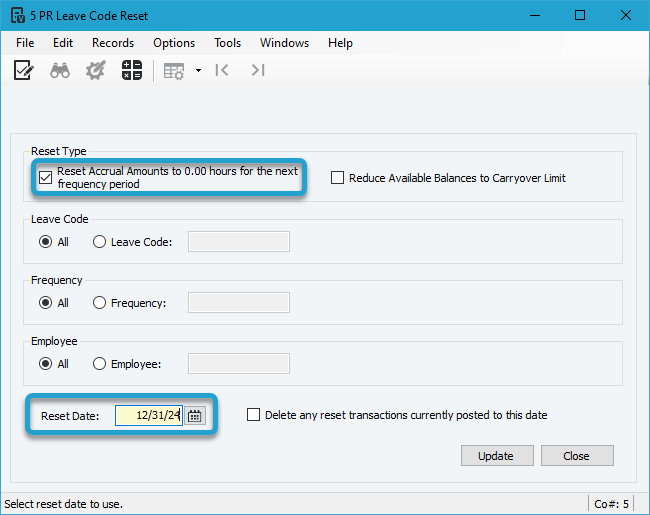
Check the Reset Accrual Amounts to 0.00 hours checkbox and enter the Prior Year Ending Date in the Reset Date field.
Click the Update button to add the reset records to your batch.
You will see negative amounts in the Accrual Limit column(s) removing the accruals you just posted.
Go to File → Process Batch, then click the Validate button followed by the Post button.
Copy Current Year Data
Copy and paste the source data into the PR Leave Entry sheet. You should be copying the Employee, Leave Code, and Current Year Accrued columns.
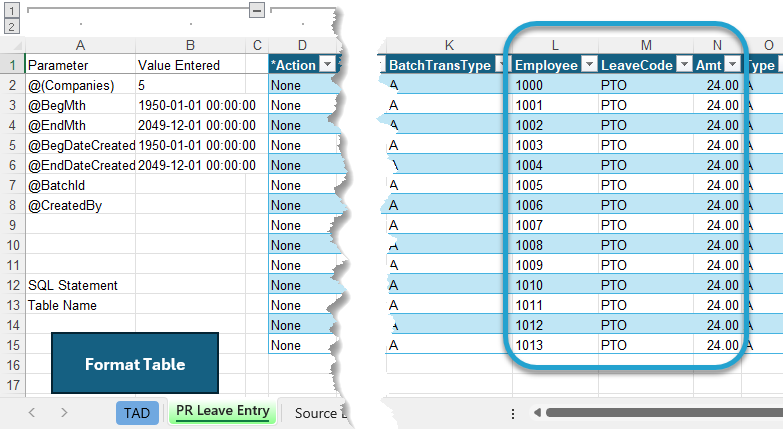
Fill out the following columns:
- Enter A for Accrual in the Type column.
- Enter the Conversion Month in the Mth column.
- Enter the Conversion Month Ending Date in the ActDate column.
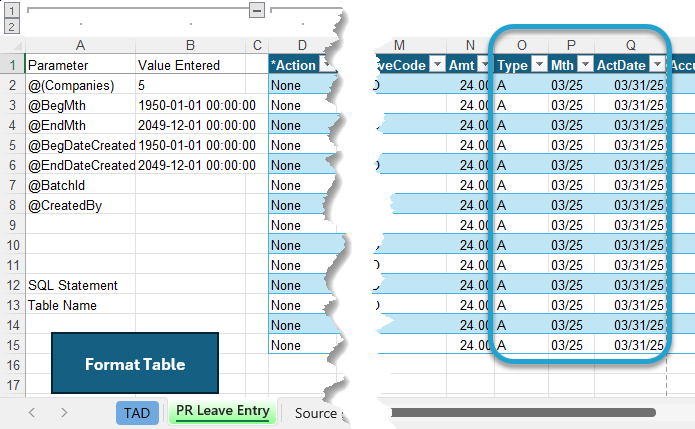
Do an additional copy and paste of the source data into the PR Leave Entry sheet. You should be copying the Employee, Leave Code, and Current Year Taken columns.
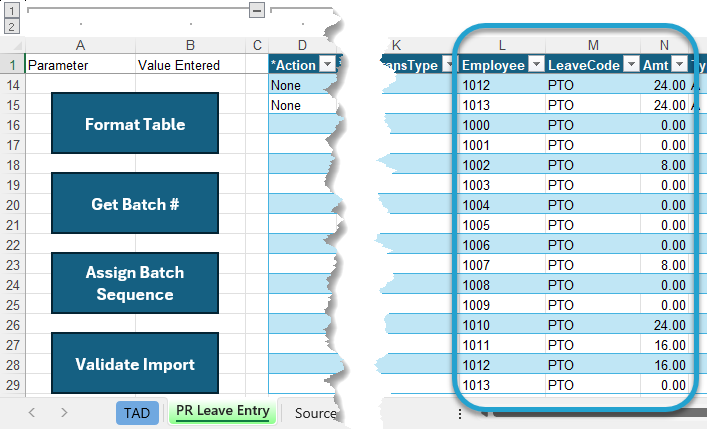
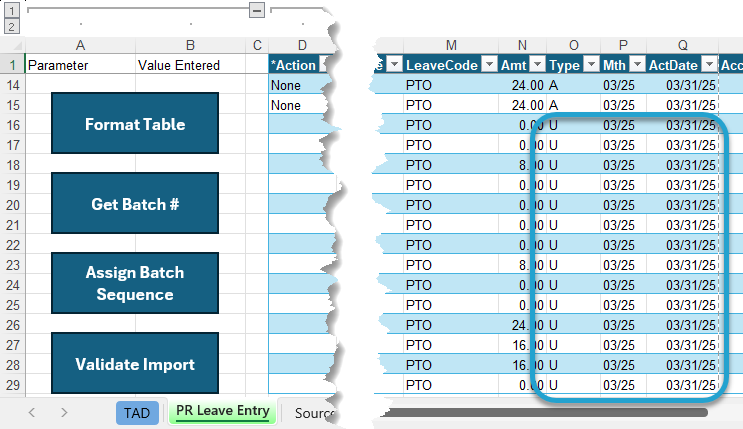
Fill out the following columns:
- Enter U for Usage in the Type column.
- Enter the Conversion Month in the Mth column.
- Enter the Conversion Month Ending Date in the ActDate column.
Import the Records
Click the Format Table button to format the data you copied and to apply missing default values.
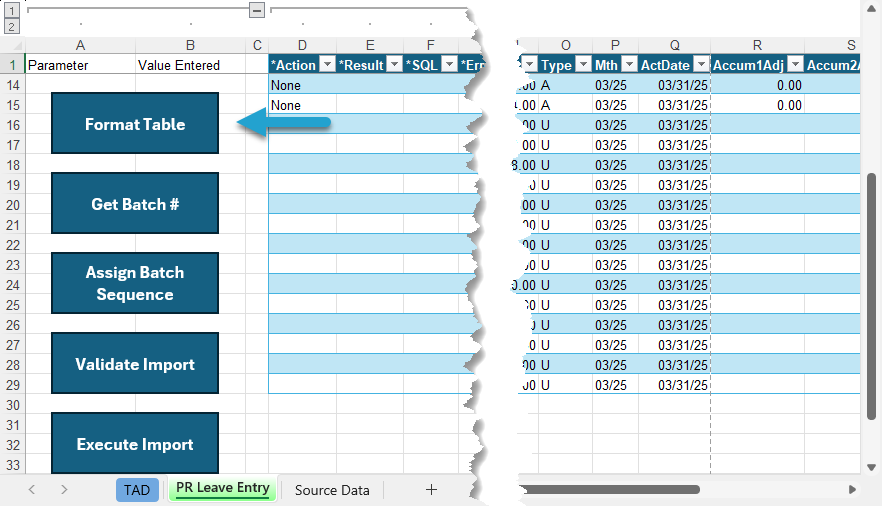
The Result column will show Formatted for every record. You will see the default Company number applied.
Click the Get Batch # button to assign the next batch number.
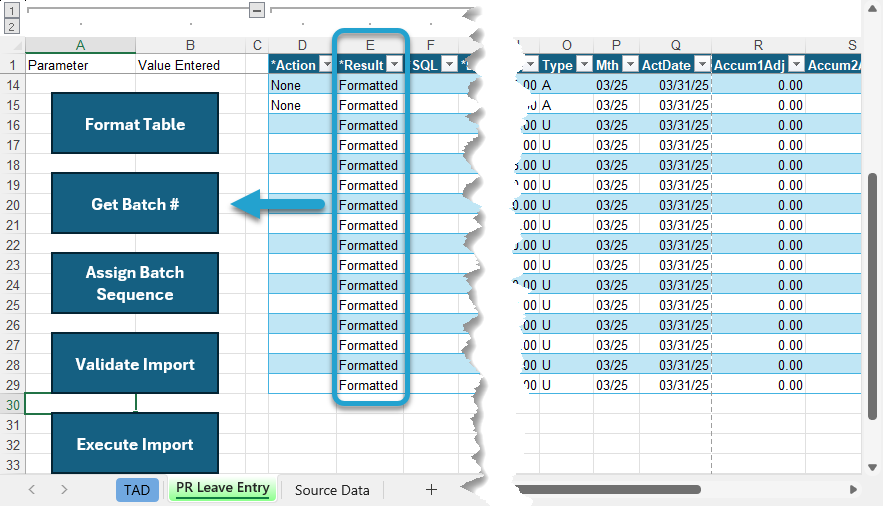
The Result column will show Batch #XX Assigned for every record.
Click the Assign Batch Sequence button to assign a sequential value to each record.
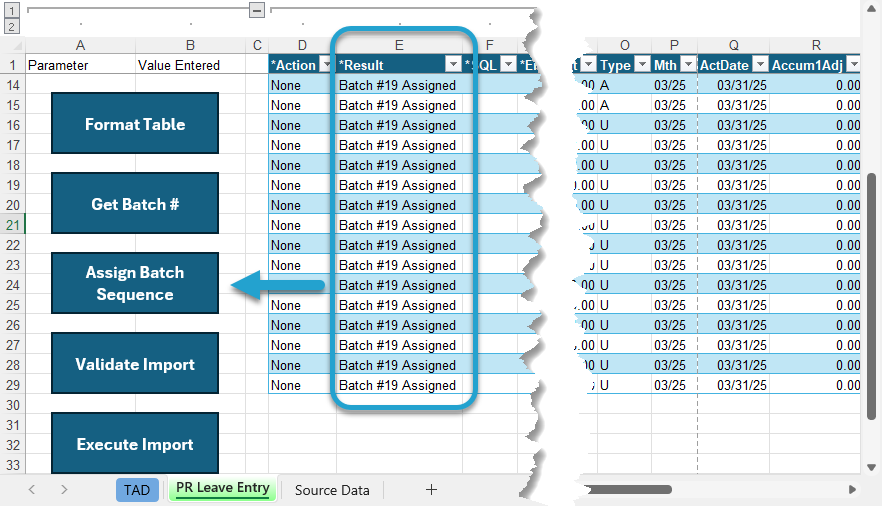
The Result column will show Batch Sequence Assigned for every record.
Click the Validate Import button.
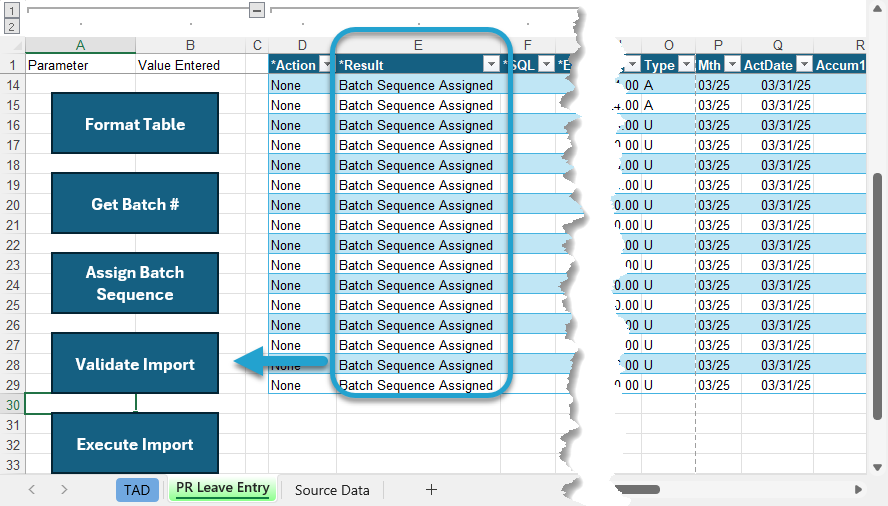
The Result column will show Validated for every record. If this says Failure, then the ErrorMsg column will provide the error.
Click the Execute Import button.
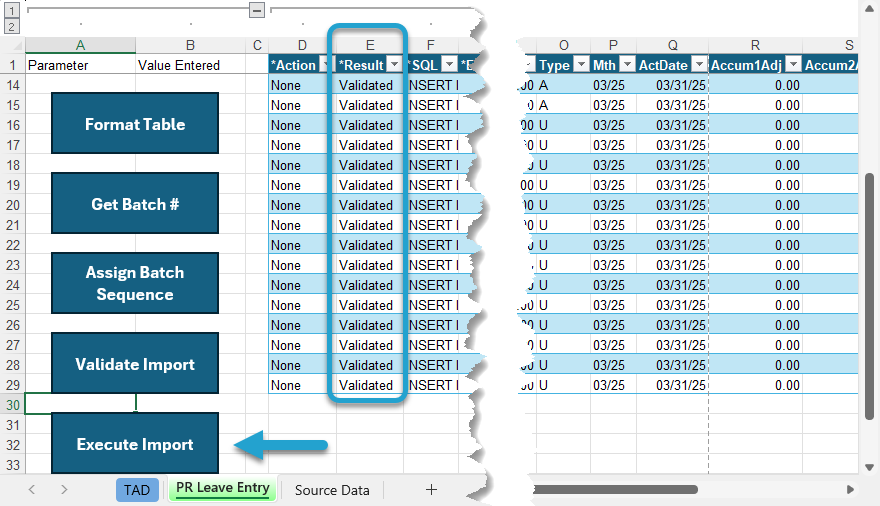
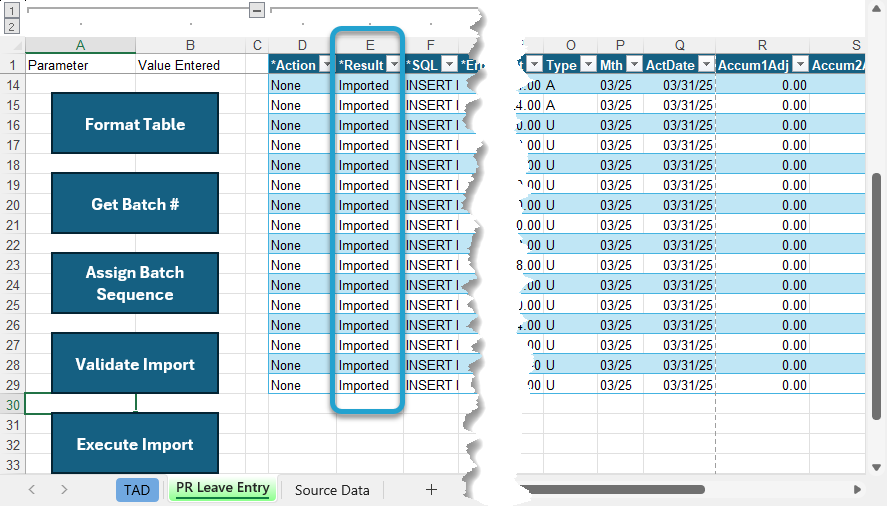
The Result column will show Imported for every record.
That completes all steps needed in TAD. You can now open the batch in Vista to validate and post.
Post Open Batch
There’s no interfacing that needs to be turned off for leave balances.
Open the batch in PR Leave Entry.
With the batch open, go to File → Process Batch, then click the Validate button followed by the Post button.
Validate Imported Data
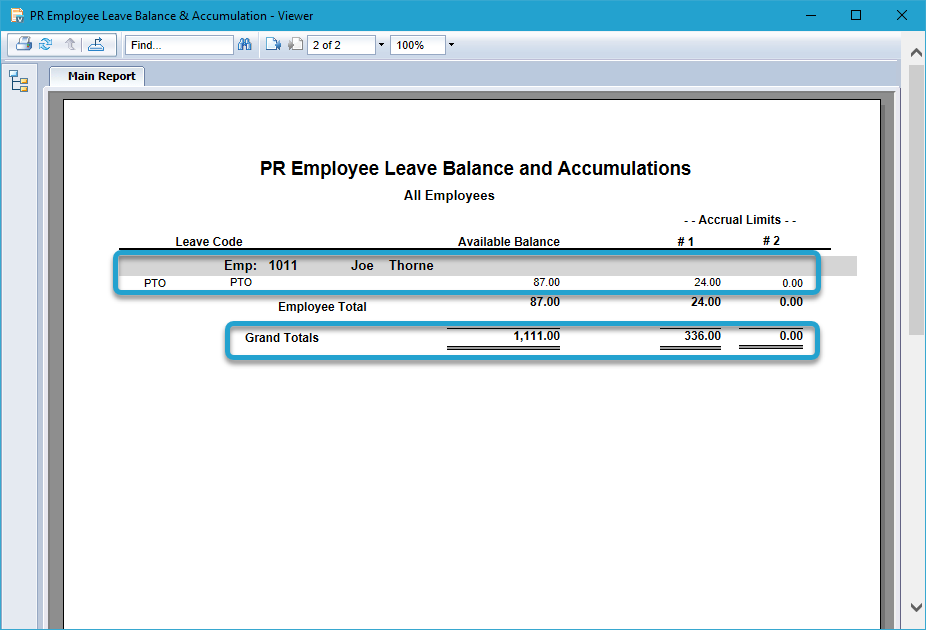
You can validate the Leave Balances by running the PR Employee Leave Balance & Accumulation report in Vista.
Enter your Company that you just imported.
Make all other parameters look like the image below.
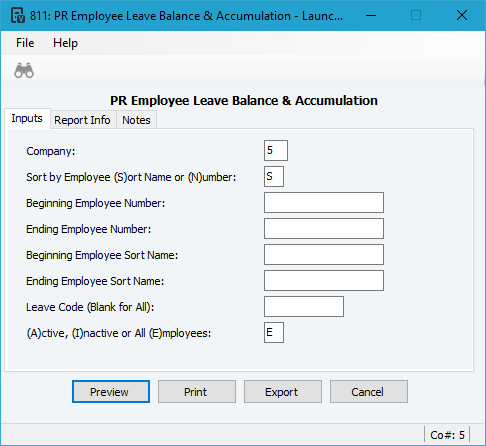
Verify the Grant Totals at the end of the report match the calculation: (Prior Year Balance + Current Year Accrued) – Current Year Taken.
The Accrual Limits should equal the Current Year Accrued values.