Join Additional Tables
Getting Started
You define additional tables in a Table/Report using the Join section on the Query Editor.
The most common use of joining tables is to retrieve Description columns from other tables. The knowledge needed to join tables in a database is quite advanced but TAD simplifies this process by providing thousands of pre-built joins.
Joining additional tables will make the columns in those tables available for the Select, Join, Where, and Group By sections of the Query Editor.
Add a Join
The steps below assume you have a Table/Report downloaded or are editing a query.
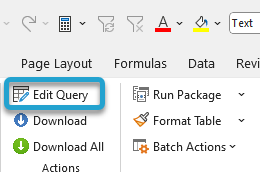
Click the Edit Query button on the ribbon.
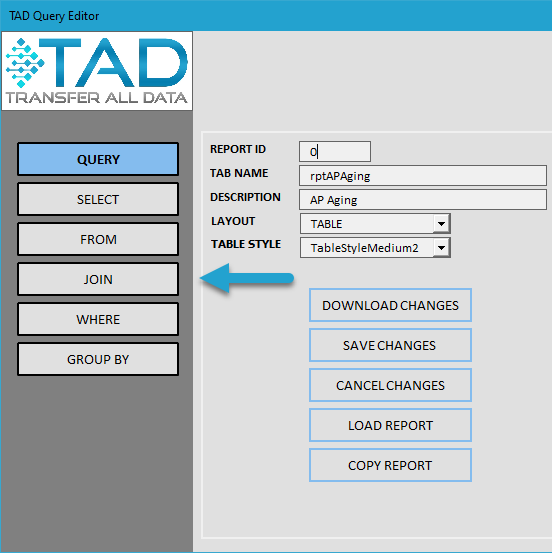
Go to the Join section on the left.
The Available Columns list shows the columns that have joins with other tables. This list of columns is driven by the tables that exist in the From and Join sections. Joining more tables will provide more columns to choose from.
The Joined Tables list shows the joins that currently exist in the Table/Report.
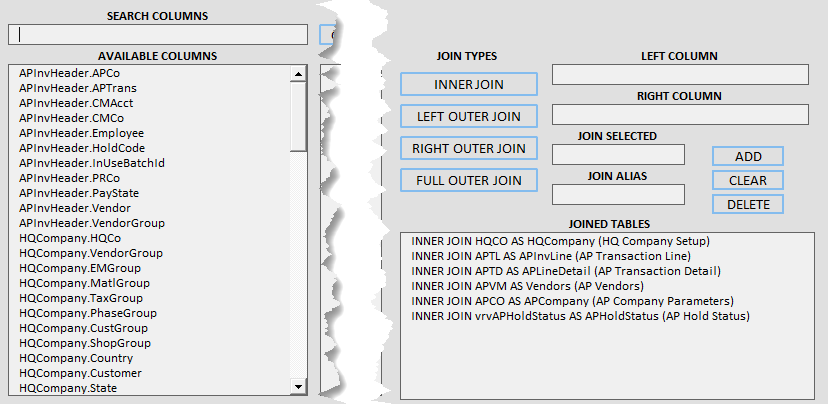
Adding a Join requires three steps:
- Select an Available Column.
- Select one of the Tables To Join.
- Select one of the Join Types.
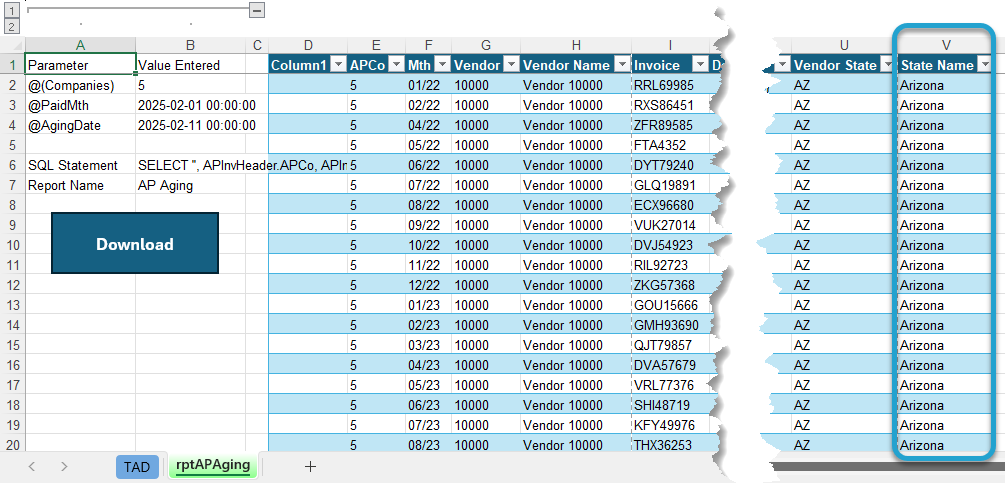
In the example below, we want to retrieve the full State description, which resides in the HQ States form in Vista.
Use the Search Columns box to filter the Available Columns.
Search for the column you want to join or find it in the list.

Select the column, which will populate the Tables To Join list.
In some cases, you may only see one option populate in that list.
If you see multiple options, you need to find the table that contains the corresponding Description column.
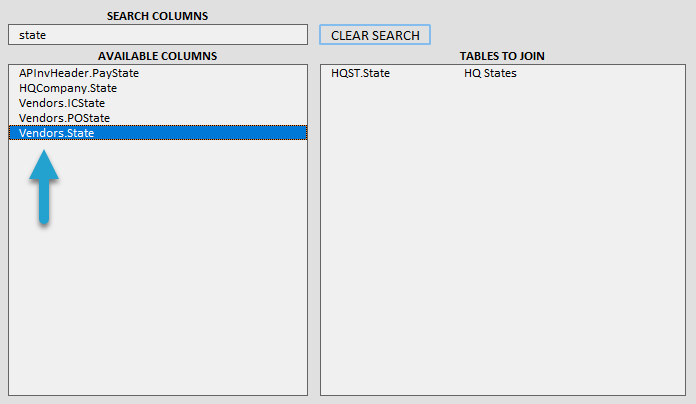
Select the Table that you want to join.
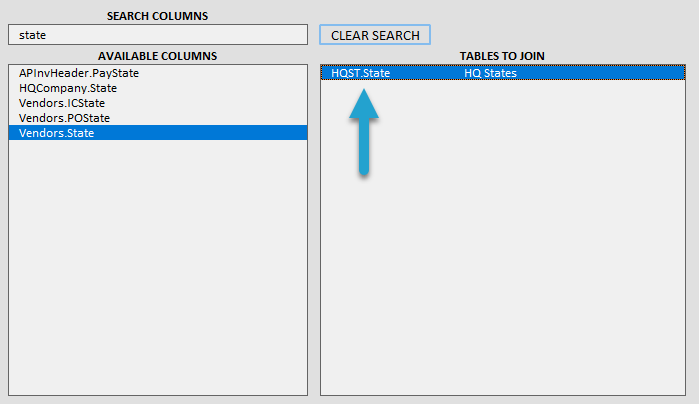
Lastly, you need to click one of the Join Types buttons.
If you are unsure of which type to select, the Left Outer Join button is the safest option. You can also review the Understanding SQL Joins topic.
For this example, the Left Outer Join button is used.
Click the little Add button to add the join.
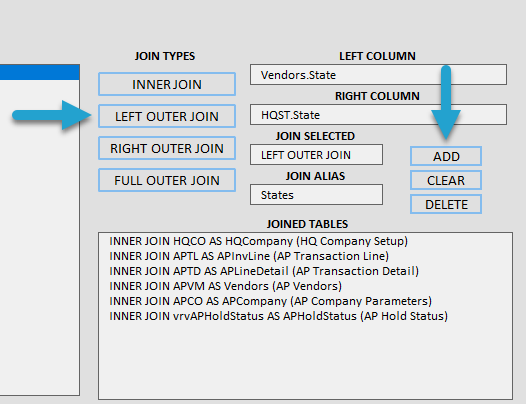
The join will appear in the Joined Tables list.
Add additional joins using the same steps above.
Click the Save Changes button when finished.
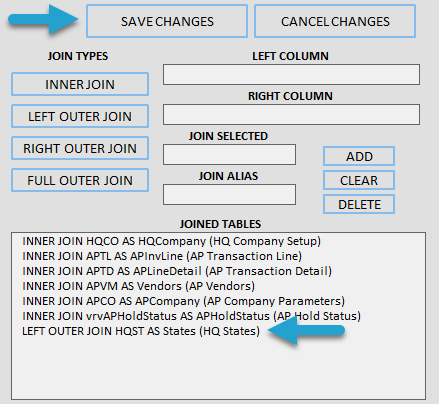
The SQL Statement field will be updated with your new joins.
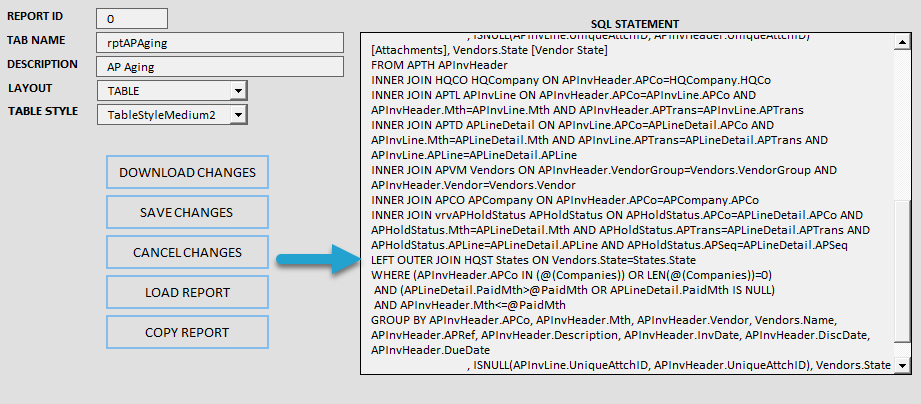
You can then go to the Select or Where sections to use columns from the newly joined tables.
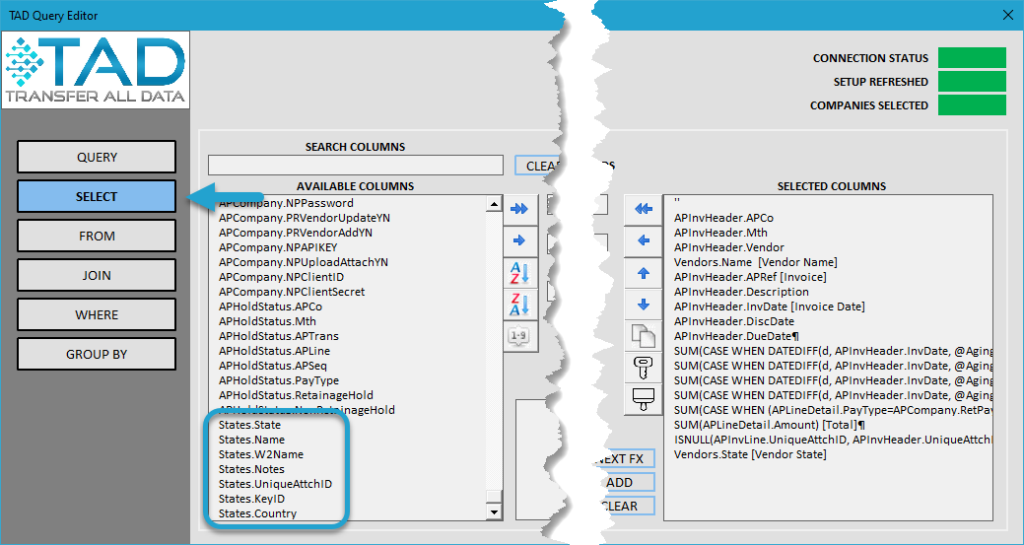
Select the column from the new table.
Optionally, update the Alias field if you want to change the column name in the output.
The Column Preview field will show you the final column structure.
Click the little Add button to add the column.
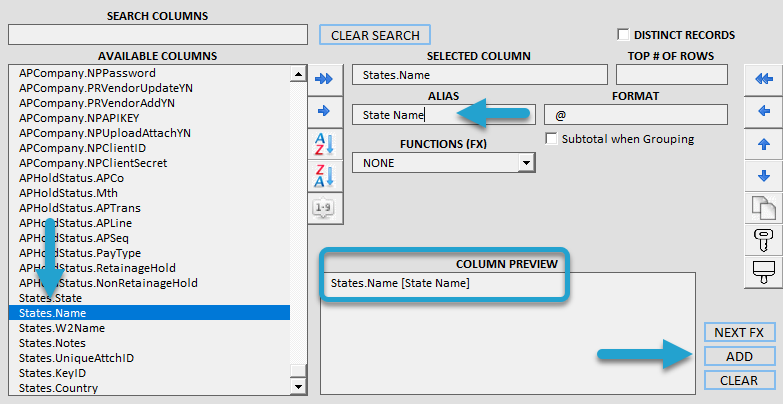
The column will now appear in the Selected Columns list.
Rearrange the columns by using the blue up/down arrows or dragging and dropping the columns on top of each other.
Add additional columns using the same steps above.
Click the Save Changes button when finished.
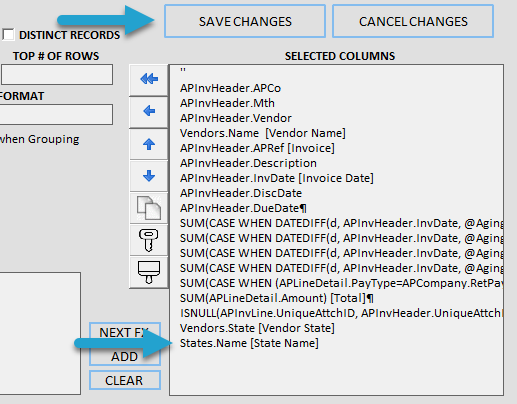
The SQL Statement field will be updated with your new columns.
Click the Download Changes button to save the changes and download fresh data.
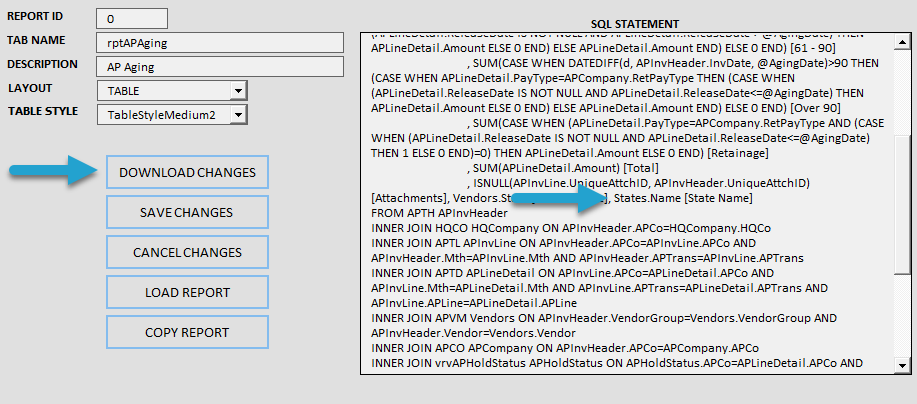
The new columns will appear in your newly downloaded data.