Getting Started with TUDS
This guide helps you get a "first success" in Mission Control: complete first-time onboarding, learn the main areas, and get oriented for day-one use.
What is TUDS?
TUDS (Mission Control) is a web app where your team works across Financials, ERP Intelligence, and other operational data tools. TUDS is not Vista ERP itself; it is the workspace for analytics, exploration, and operational insight built around your ERP data.
Before you begin
- You can sign in or you have an email invite to Join TUDS.
- You expect first-time onboarding after sign-in (character, default companies, and theme).
- You know who your team admin is (the person who can help with missing access or onboarding questions).
Quick start (15–30 minutes)
- Open your invite (or sign in) and complete first-time onboarding.
- Learn where the main areas are in the left sidebar.
- Open key workspace areas and confirm access.
Step 1: Complete first-time access and onboarding
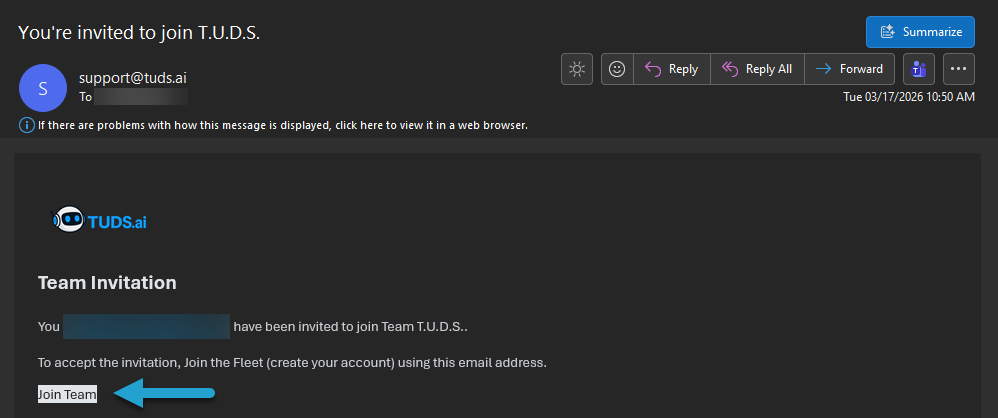
1.1 Open the “You're invited to join T.U.D.S” email
Find the invitation email and select Join Team to start your first-time setup.
1.2 Set your password
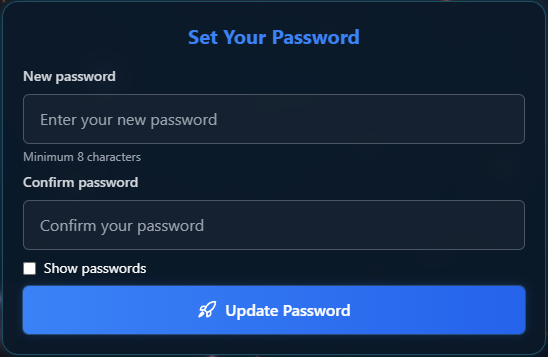
After selecting Join Team, you are taken to the Set Your Password screen. Create your password and submit.
1.3 Sign in and accept Terms of Service
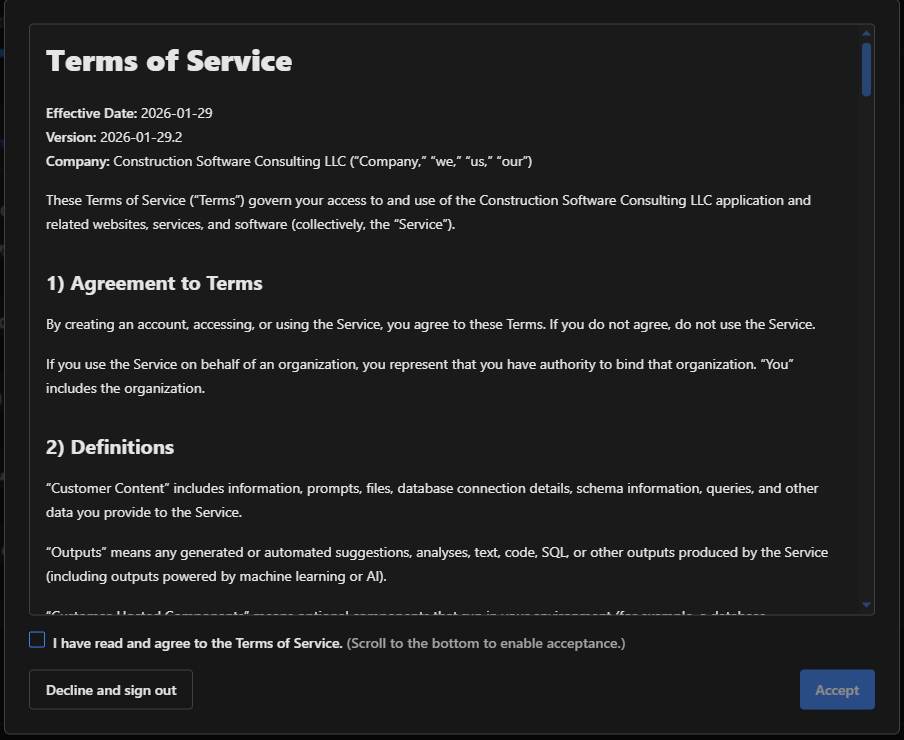
After sign-in, the first screen is Terms of Service. Read the terms and accept to continue.
1.4 Set Company Defaults
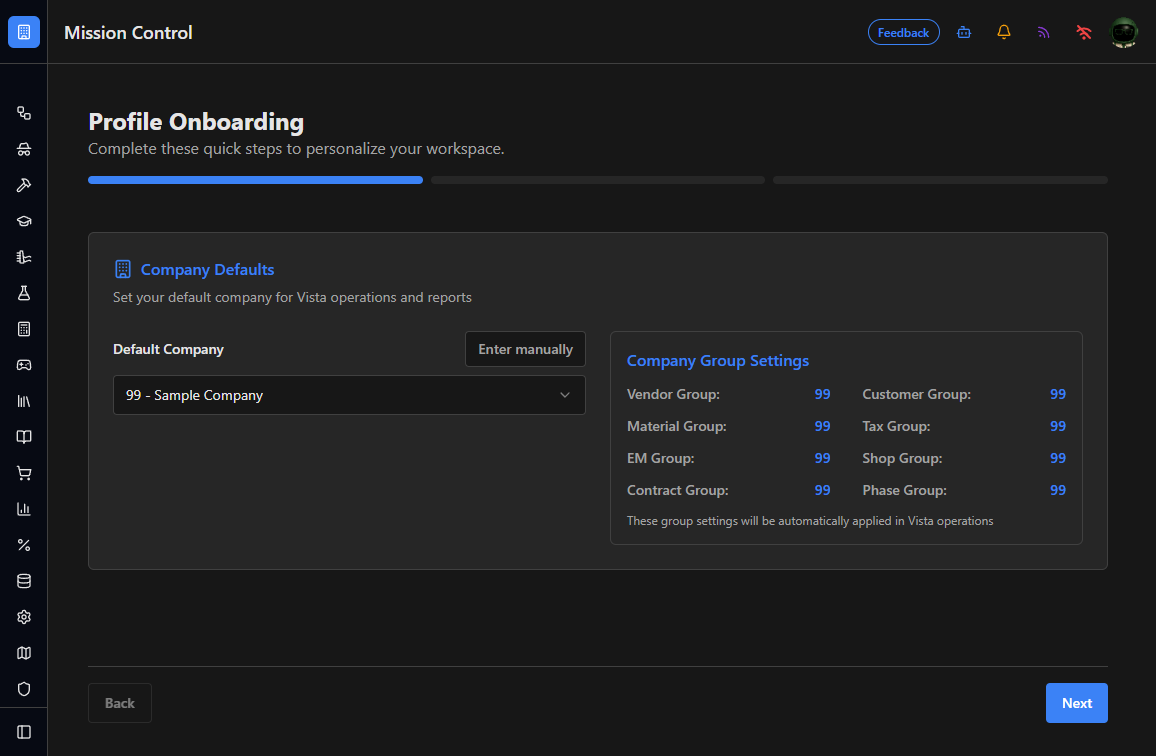
On the Company Defaults step, set your default company values:
- If your team has Azure Bridge set up, select values from the Default Company dropdown.
- If Azure Bridge is not set up, enter the company values manually.
If you are not sure which values to enter, ask your team admin before continuing.
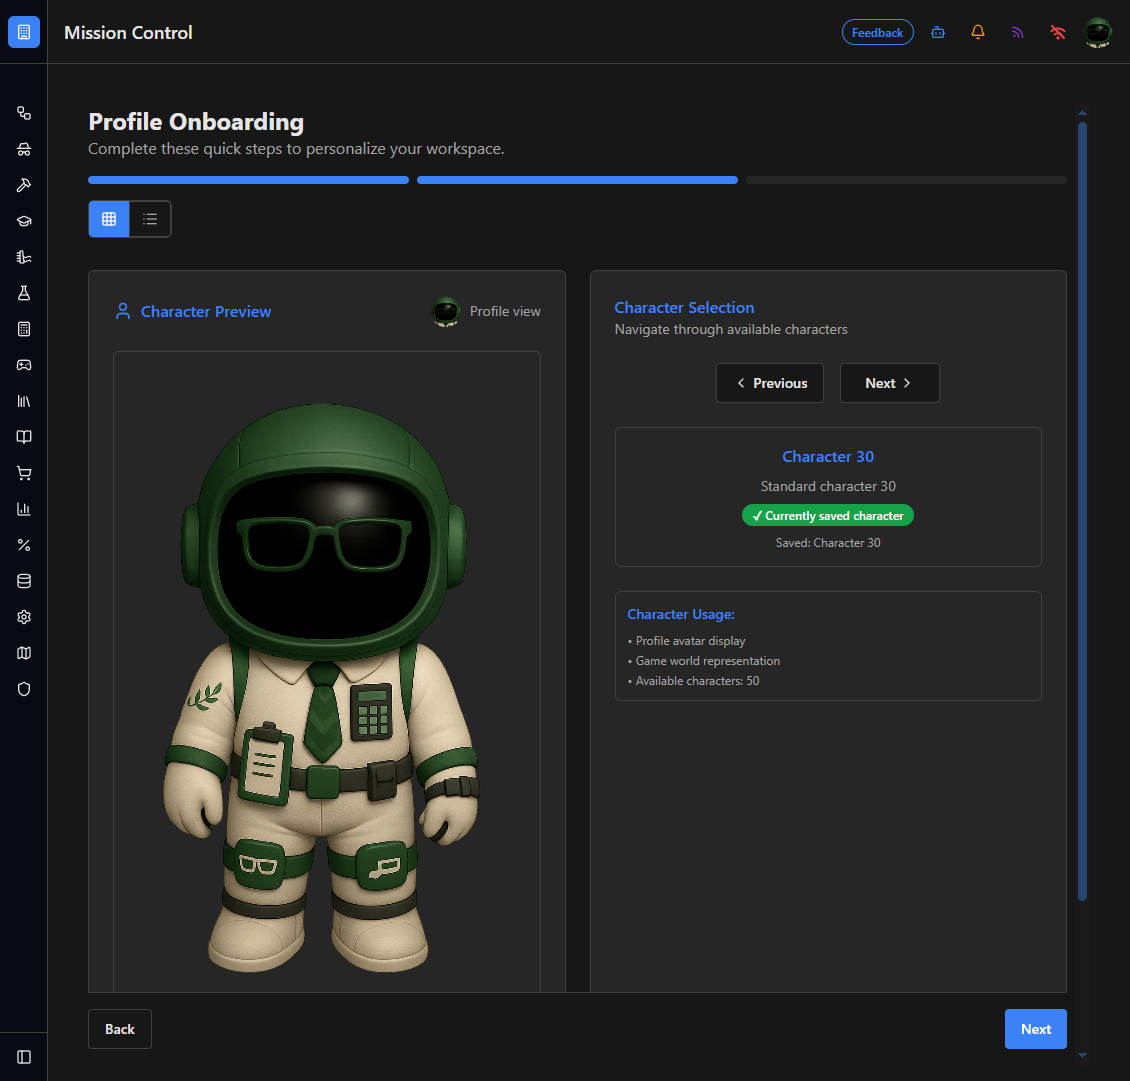
1.5 Choose your character
Select the character you want to use. Your selection appears as your avatar across the app.
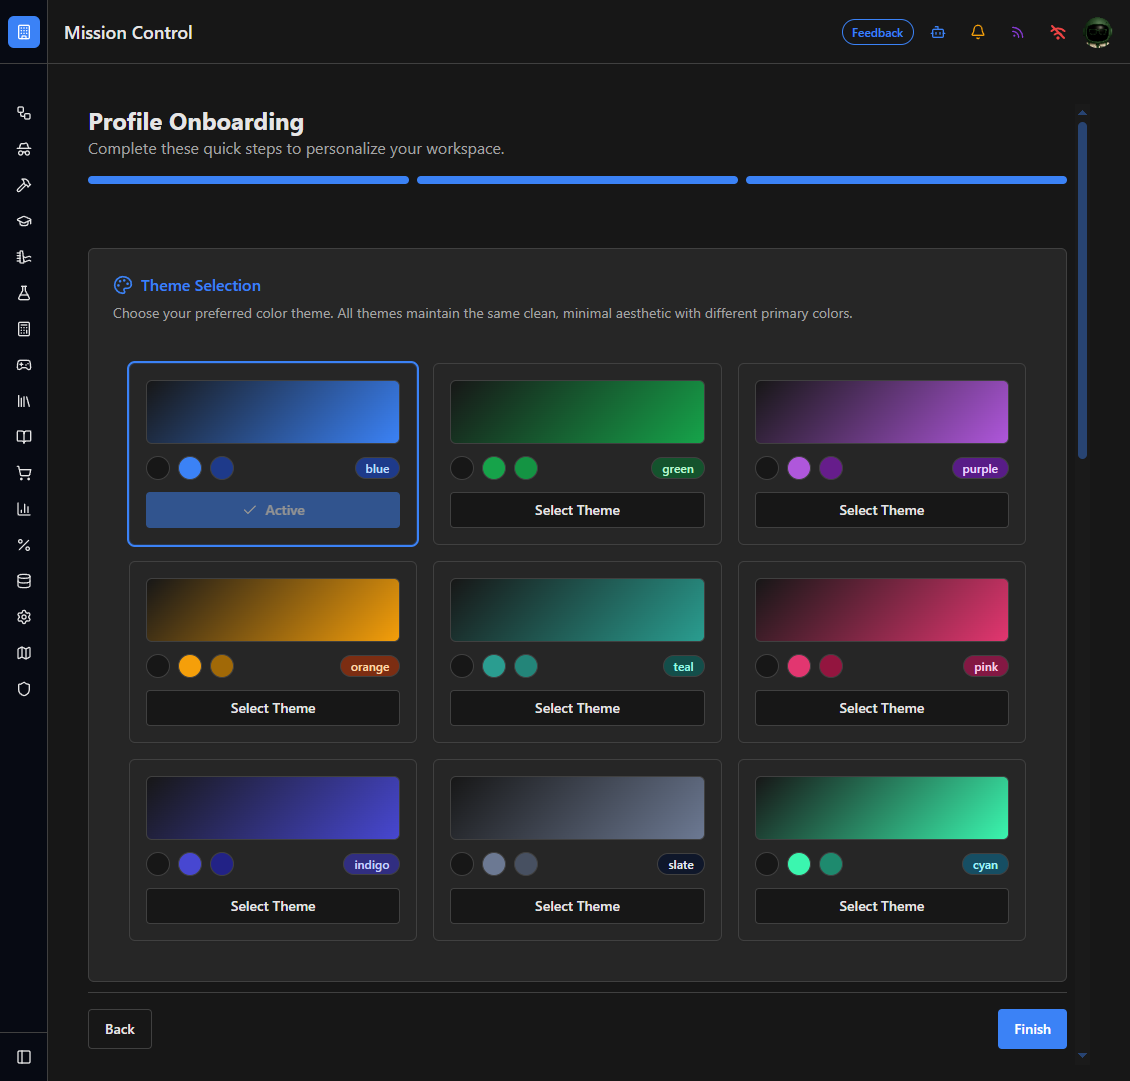
1.6 Choose your theme
Select the theme you want. This theme is applied across the app interface.
After you complete onboarding, continue to Step 2.
Step 2: Learn the Mission Control layout
Your default landing page
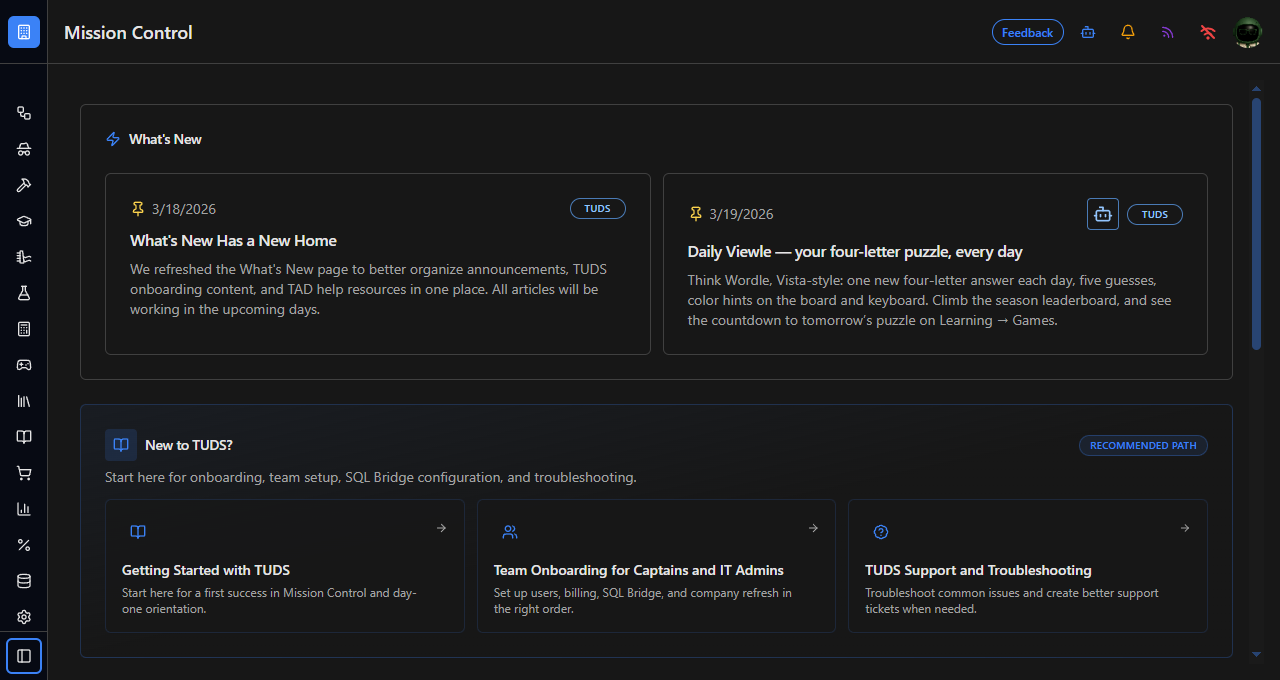
When you go to Mission Control, the app opens the What's New landing experience by default.
Understand the top bar controls
The top bar gives you quick access to status and personal settings. If you are new, use this as your quick reference:
- Feedback button: send a note to support. The app includes page context automatically.
- TEDI Assistant icon: opens the right sidebar where you can ask for help.
- Notification icon: shows alerts and updates that need your attention.
- What's New icon: opens the latest product updates and release notes.
- Wi-Fi status icon: shows your team's current Azure Bridge connection status.
- Avatar menu: open this menu for Profile & Settings and theme controls (light/dark mode).
In Profile & Settings, you can update onboarding choices later, including default company values, character, and theme.

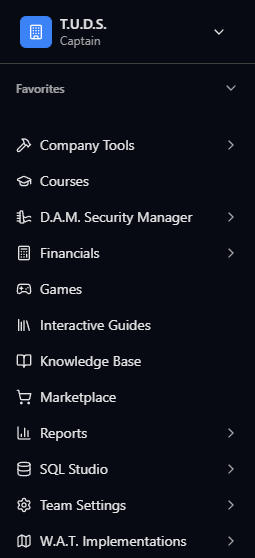
Find features using the left sidebar (groups → pages)
The left sidebar is organized into groups (for example: Financials, ERP Intelligence, and Team Settings). The sidebar uses a drill-in pattern:
- Select a group to see its pages.
- Use Back at the top of the sidebar to return to the group list.
For a deeper walkthrough of sidebar behavior and settings, see Mission Control Navigation and Sidebar Settings.
Favorites (optional)
You can drag any of the sidebar items into Favorites for quick access. Favorites are per-user.
If a page is missing
If you can’t find a page you expect, the most common causes are:
- Permissions/entitlements: your account isn’t allowed to access the feature.
- Sidebar filters: the sidebar has an availability filter (Show All / Online Only / Offline Only) and a Beta toggle (Show Beta / Hide Beta).
Where to get help
- TEDI Assistant (toolbar icon): this is the first place all users should go for help. Select the TEDI robot icon in the top toolbar to open the right sidebar and ask your question.
- Support Portal: if TEDI does not resolve your issue and your team has it enabled, go to Team Settings → Support Portal to create a ticket.